
There are several LED strip light projects you can build. However, if you wish to construct them in an array, you forgo the opportunity to control them individually. By this, we mean you’ll be unable to regulate the color spectrum and a maximum brightness of a particular Arduino WS2812B LED strip.
Furthermore, another downside is that it makes the LED strip lights unsuitable for Christmas lights in the home. For this reason, you must use the WS2812B Addressable LED to control the individual pixels in a strip. Here, you will find out how to manage the RGB LED strip using an Arduino UNO.
1. Arduino WS2812B Description
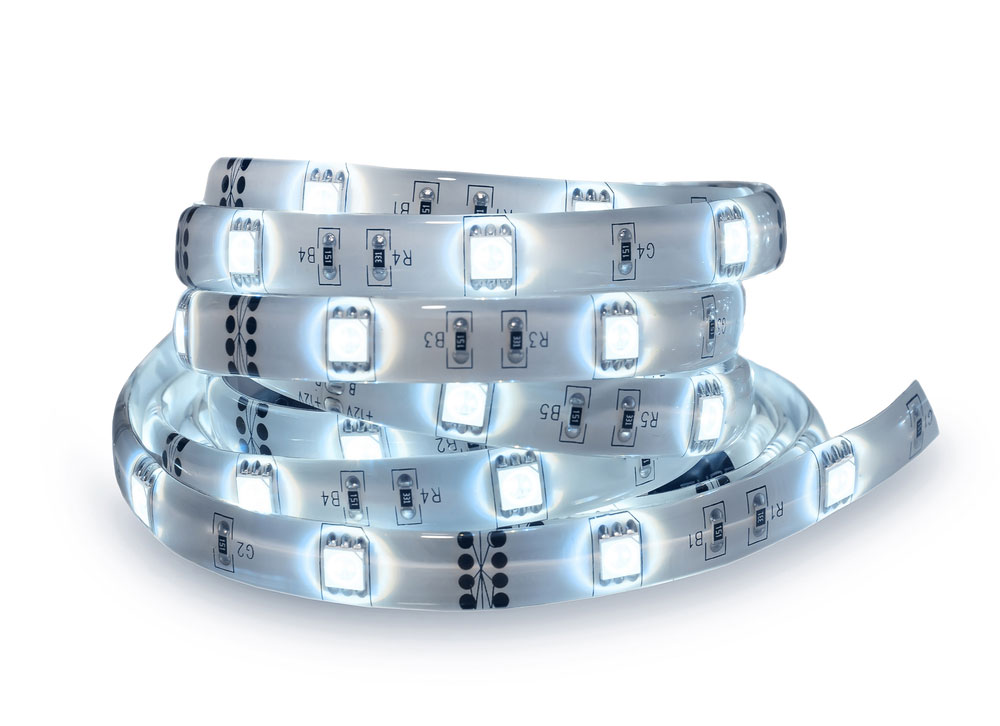
The Addressable LED strips are an outstanding light source containing an IC and an addressable RGB LED strip in one package. Moreover, they usually come in the SMD 5050 form factor.
Initially, it usually appears like a joint single-color LEDs strip. But at a closer look, you’ll notice that both the Arduino and WS2812B are integrated into the SMD 5050 RGB LED Package.

2. The Arduino WS2812B pin description:
The Freenode WS2812B LED has four Arduino-connected pins. They are; DOUT, DIN, VSS (GND), and VDD. Note that the VDD pin is also the power source for the RGB addressable IC.
| Pin | Function |
| VSS | Ground |
| VDD | Supply of power LED |
| DOUT | Data control signal output |
| DIN | Data control signal input |
3. How to control a WS2812B LED with an Arduino
So, how do you control the freenove WS2812B using the Arduino board? Here’s how the project’s power supply works. The 5V power supply pin powers the digital strips. Besides, each single pixel program comes with three LEDs alongside a color control feature. Therefore, the current of an individual pixel is about 60mA.
So, if you have an addressable RGB LED strip that contains 40 WS2812B, you’ll surely get a total current of 40 x 60mA = 2.4 A. The Arduino software can neither supply this much power through a barrel power connector nor USB cables. Hence, you must power the pinout project (Arduino & WS2812B) using an external power supply.
Undoubtedly, an extra power supply such as 5V will provide adequate current.
(RGB led lights)
TIPS:
- Ensure the wires between the Arduino board, power supply, and the return strips are very short to reduce voltage loss.
- Include the Ohm resistor at the center of the Arduino IDE, the strip input data, and the output pin to minimize noise on the line.
- Also, if your analog strips are faulty and don’t work, examine the modules of the first LED to see if they’re broken. If so, cut them and re-solder the input data pin.
- Finally, to regulate the extra power supply, connect your capacitor to a capacitance between 100uF and 1000uF from the power cables to the ground.
Active components
- Arduino UNO.
- 5V power supply.
- 330Ω Resistor.
- WS2812 strips.
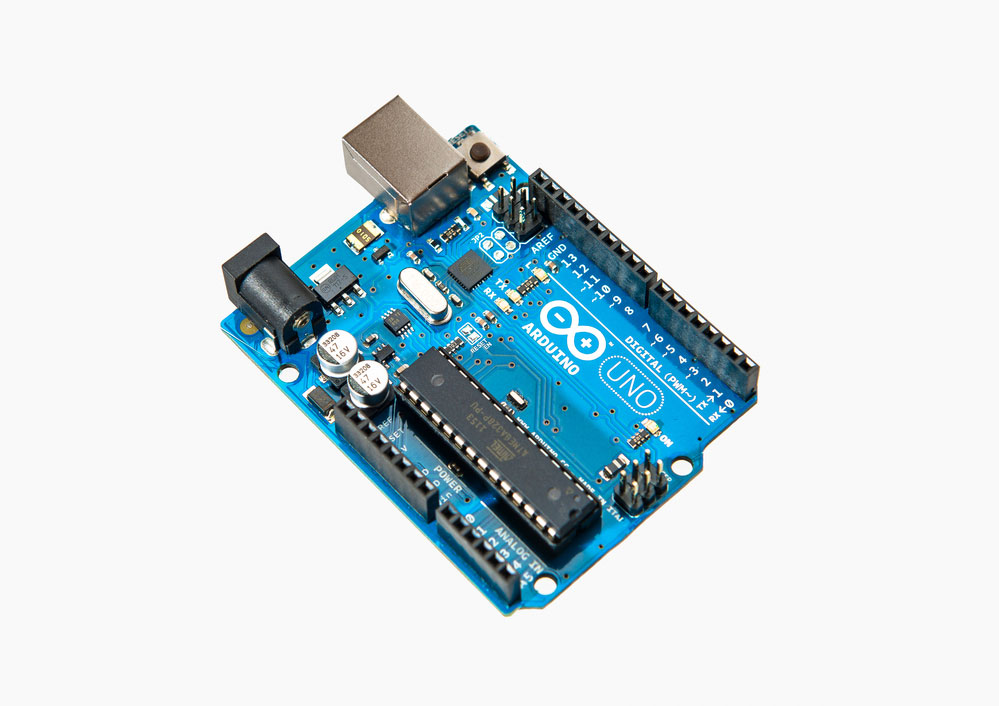
(Arduino single board)
Circuit diagram
( 32-bit merged RGB color value strip and the Arduino IDE)
The chart above shows the connection between the 32-bit joined RGB color value strip and the Arduino IDE. It also shows that the LED strip lights and the Arduino connect to an external energy source with the GND (VSS). Finally, the DIN pin of the strip lights connects to the digital strip pin seven and flows through the 330Ω resistor.
Connect the LED
You must use a 5v external power source to connect the LEDs because the adafruit neopixel takes plenty of power. On average, each multi-pixel draws about 20mA alongside 60mA at max brightness. On the other hand, 30 colored pixels draw 600mA and over 1.8A. Also, ensure your DC power supply has a wide range of power to drive the strip.
The source code
The Adafruit neopixel library is built-in to your Arduino IDE. So, if it’s not up to date, you may have to reinstall it. With the Arduino library, the updating process is more straightforward. Go to Sketch > Include Arduino Library use > Manage LED Libraries… and then search for “Adafruit NeoPixel.” Find the library and click Install.
That said, here is the Arduino code. To use the LEDs, upload them on Arduino. The attached link is a strand test example of the Arduino code that you can copy and paste; Arduino Source Code.
You can also add to the number of LEDs by modifying the NUMOFLEDS using this code.
4. Application of Arduino WS2812B
Arduino is used in several applications and software. See some below:-
- Ardupilot.
- Ardusat.
- OBDuino.
- OpenEVSE.
- TINKERCAD.
And many more.
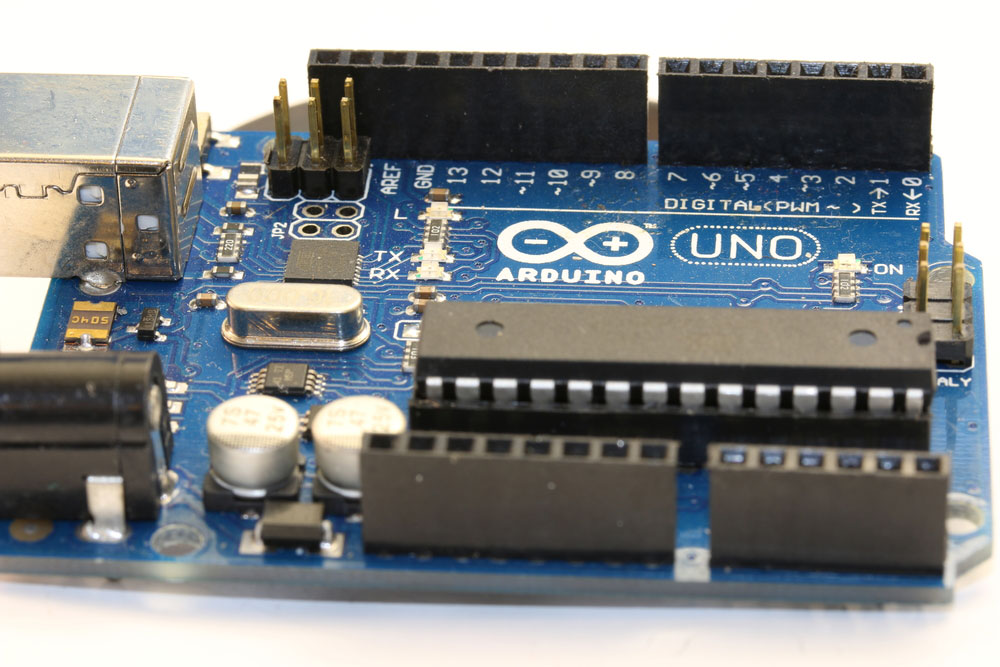
(Arduino board)
5. What is the Difference Between WS2812 and WS2812B?
While WS2812 and WS2812B have similarities in IC, they have some differences.
To begin with, the WS2812B has four pins, while the WS2812 has six pins. Another difference is that the chip model on the WS2812B has higher color cues and brightness than WS2812.
Lastly, the WS2812B has an improved plus modified Arduino RGB structure than its counterpart.
Final Word
Happy creation! Now, you can embark on many projects, such as Christmas, party lights, and many more. This tutorial gives you basic knowledge on controlling Arduino using Arduino to control WS2812B Individually Addressable LEDs.
If you have any questions, please feel free to contact us.