
Are you looking for a way to save money on reef lighting or want to have more control over your aquarium lighting? Then you may be interested in learning how to make your own LED reef light. DIY LED reef lights are cheaper than store-bought models and allow you to customize the spectrum and intensity of sunlight your fish and corals receive.
This article will provide an easy-to-follow guide on creating your own LED Reef light. We will also provide helpful information on what tools, LED strips, and components you need before you start your DIY LED light project.
What Is LED Reef light?
LED reef light is a type of lighting commonly used to illuminate marine environments such as coral reefs. Reef lights typically use a combination of red, blue, and white LEDs to produce a bright, vibrant light that simulates the natural underwater environment.
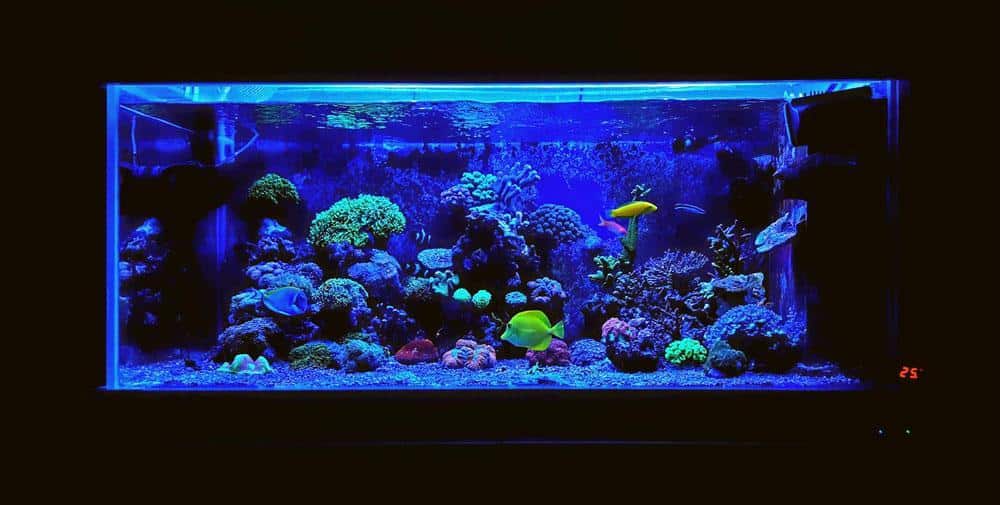
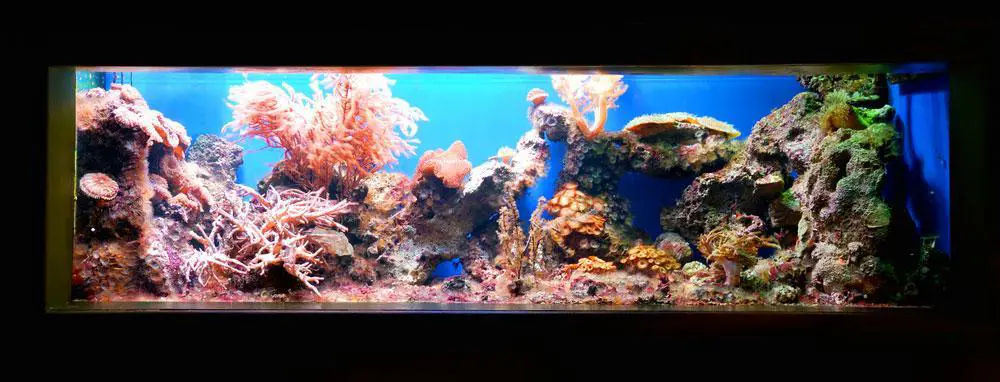
Reef Light Aquarium
Many reef aquarium enthusiasts believe that LED reef lights are the best way to provide optimal lighting for corals and other marine invertebrates. In addition to being more energy-efficient than traditional incandescent bulbs, LED reef lights produce less heat, benefiting delicate aquatic ecosystems.
A DIY LED reef light project is more straightforward if you buy a string of LED or UV lights instead. Because of this, aquarium fanatics are making their own LED reef light kit. This guide will teach you exactly how to place and wire your LED light from scratch. This will save you some trouble, but the results may differ.
6 Easy Steps For DIY LED Reef Light
DIY Frame Work
Before you start your DIY LED lighting project, you will need to gather the following tools and components:
- Aluminum sheets
- Heat sinks
- Heat sink epoxy
- Royal blues LED lights
- Cree XT-E or Cree XM-L white LEDs
- Red LED lights
- LED drivers
- Cooling fans
- Power supplies
- Hot glue gun
- Drill
- Solder
- Solder iron
- Wires
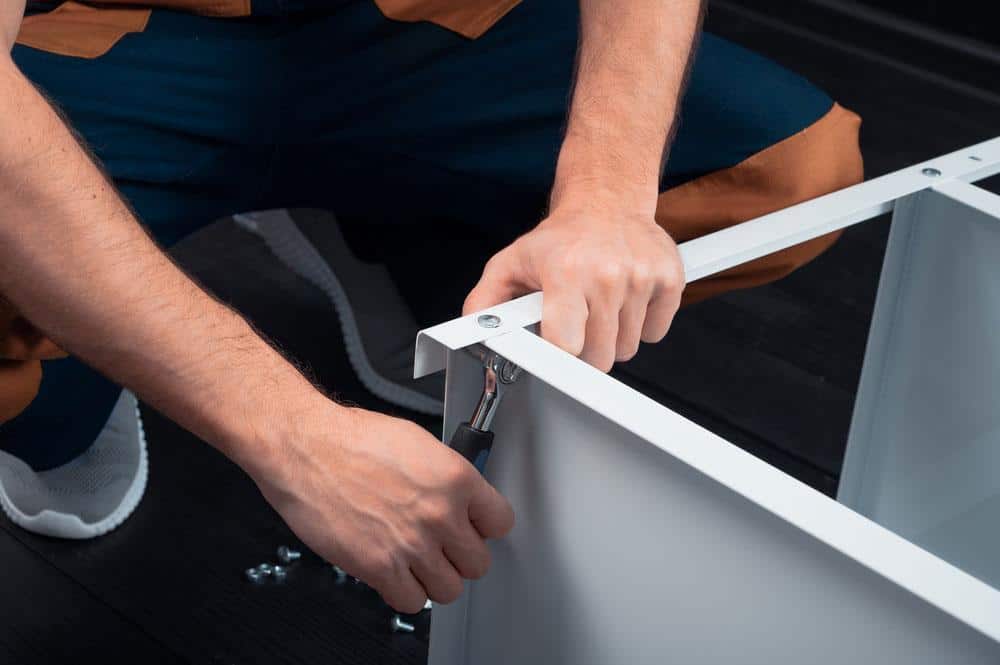
Step 1 – Create your light fixture
It would help if you started by gluing or welding aluminum pieces together in a boxed shape that fits the size of your aquarium tank. When the box is finished, you should drill holes for wires and cords. You will place the aluminum box above your aquarium with your power supply, power cord, and LED lights as your new light source.
Step 2 – Mount your LED reef lights
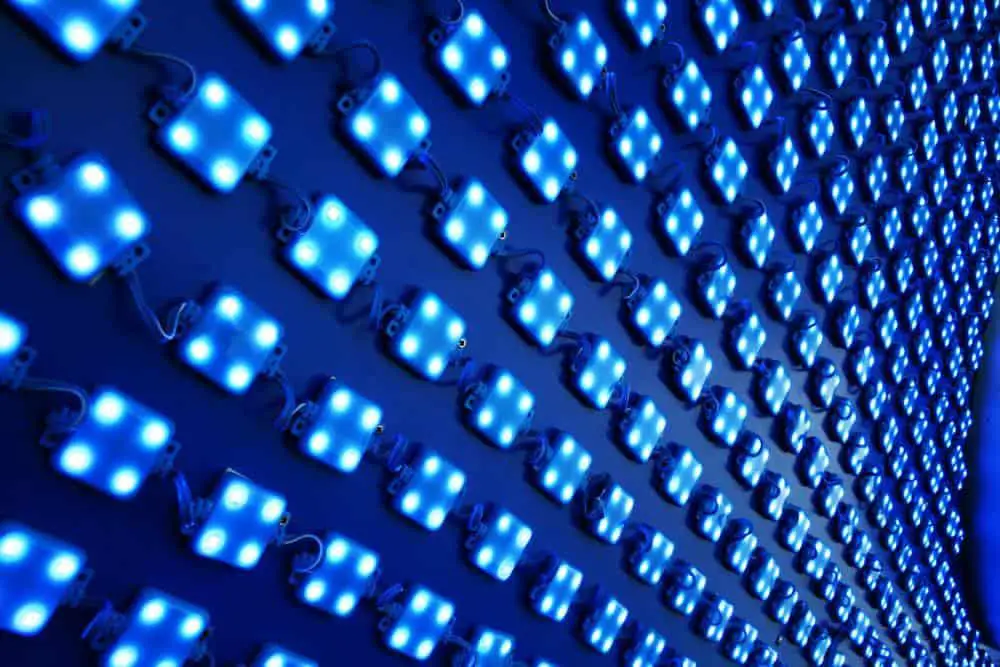
Mounted LED Lights
You can pick various colors, but blue, white, and red are usually used for aquarium lighting. But you can choose any LED. Choose LED lights like Cree XT-E white for bright white light or Cree XT-E royal blue LEDs for cool blue light. The Choose LED lights like Cree XT-E white for brilliant white light or Cree XT-E royal blue LEDs for cool blue light. Choose LED lights like Cree XT-E white for bright white light or Cree XT-E royal blue LEDs for cool blue light.
Place the LEDs on the aluminum sheets so they fit the heatsink kit. You can use heat sink epoxy to ensure the LEDs and heat sinks stay together. When everything is settled, you are ready to wire the lights.
If you want a more straightforward project, you can buy a string of LED or more and place them on the same LED fixture you made in step 1. You glue these to your aluminum sheet and plug them into your power supply, and you should be good to go.
Step 3 – Wiring LED lights
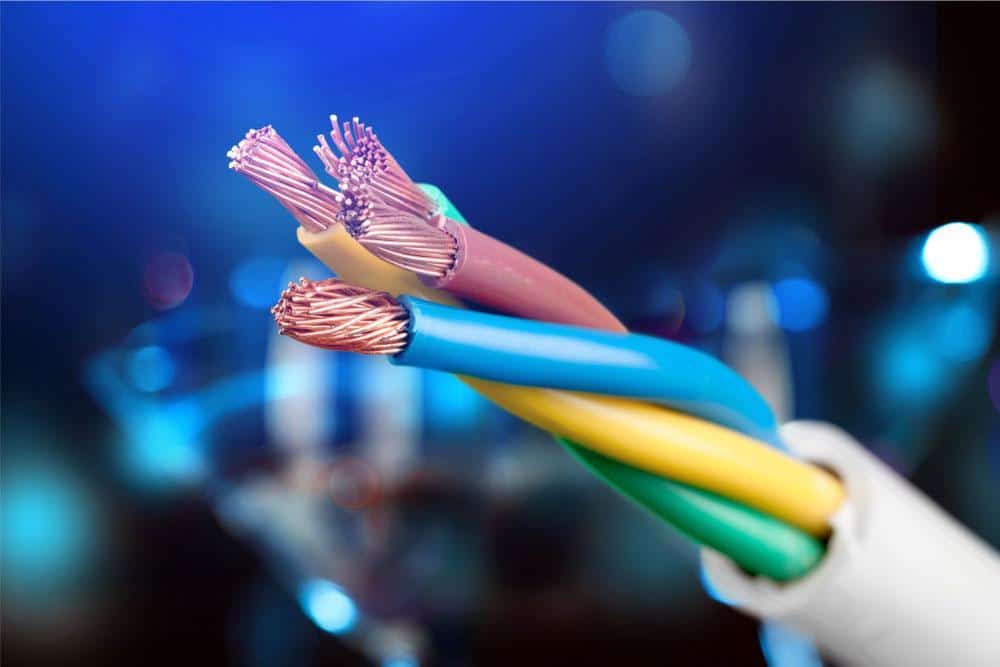
Cable Wiring
The plan is to use different LED lights; you must wire each morning to a driver. If you want extra cool lighting features, you can use dimmable drivers to control how much lighting your aquarium receives. If you aren’t good at electronic wiring, we advise you to get help from someone who knows what they are doing. This part of the project can be both dangerous and tricky.
When you have connected all your LED lights to your drivers, you should hide them in a box on top of your light source. Make sure there are holes in the box to make room for the wires. Either build this on your own or buy one. You can either create this on your own or buy one. You can either make this on your own or buy one.
Step 4 – Installing the power supply
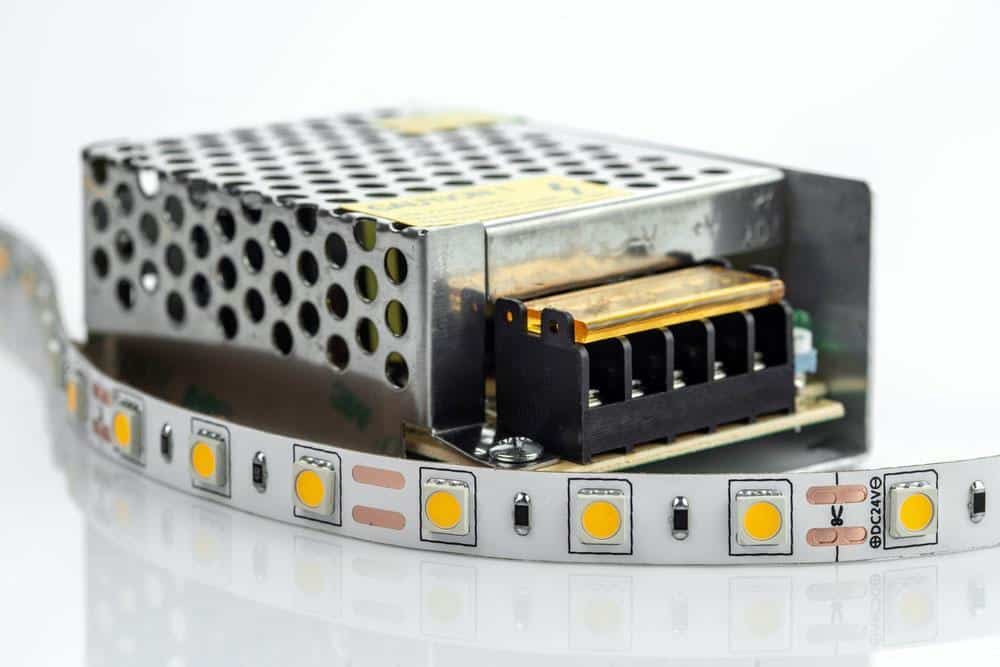
24V Power Supply With LED Strip
The power consumption of your DIY LED reef lights depends on the number of LED lights you use. Make sure to have a big enough power supply to power LEDs in your project. You should have a power supply for each color if you use different colors, like royal blues, true violet, and regular white.
Make sure you have power cords with ground that fits the power supplies.
Step 5 – Placing fans for cooling
Cooling your LED aquarium light down is crucial to make the lights last longer. You can do this by installing fans on the heatsinks. This will help transfer heat away from your light source. Before you purchase fans for your reef light, make sure to find fans that aren’t producing a lot of noise. That can quickly become very annoying if the fans are too loud.
You can wire the fans directly into your wiring series. But you can also get fans that power separately from your DIY LED reef light setup.
Step 6 – Choose your lighting settings.
Aquarium With White Lighting
It depends on your liking and which colors of the color spectrum you have installed. It would help if you now chose the proper color balance for your reef tank. You can make it a soothing blue light or combine the colors to create something entirely different.
Before you switch on the light source, double-check all of your connections. When you turn on your new lighting source, you don’t want anything to go wrong.
Wrap up

Step By Step Guide
DIY LED reef lights are a great way to save money while still getting the lighting you need for your fish tank. You can buy all the materials you need at a local hardware store and follow our easy step-by-step guide to create your very own light fixture. It takes a bit of time to complete the project, but it is worth it.