
About Hardwiring LED Strip Lights, LED strips are one of the most versatile creations for decorative and lighting applications. But can you use them for your home lighting system?
Yes, you can! And you can do it through a process called hardwiring. With that, you can connect LED strips to your home wiring easily.
However, the big question is: How do I hardwire my LED lights? This article will show you what you need and how to go about the process. You’ll also learn about voltage drops and how to avoid them.
Are you ready? Let’s begin!
Why Hardwire LED Strip Lights?
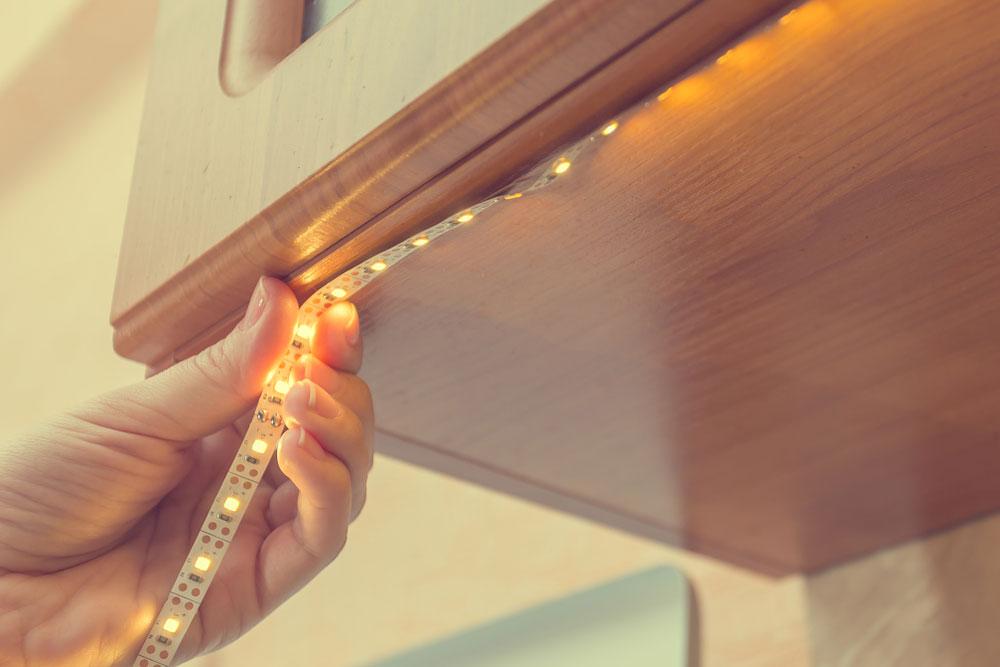
LED Strip Installation
LED strip lights are like regular lights but with more aesthetics. Also, they conserve energy and offer brighter lighting.
Additionally, it provides some colorful effects you can’t get with regular lighting. The best part is that LED strips don’t need many wires. Hence, your home and office will look more organized without wire clusters.
How to Hardwire LED Strip Lights
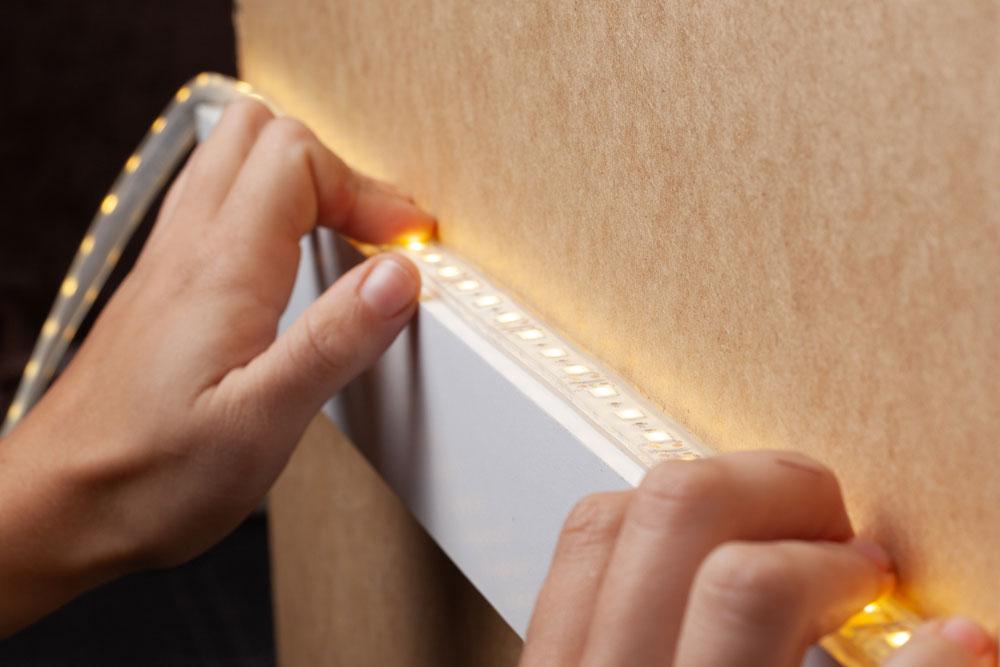
Setting up LED Strip
Hardwiring requires connecting your LED strip wires to your power supply’s output. Although it sounds easy, you’ll need expertise and skills to handle the task (so you don’t damage something or get an electric shock).
Here’s how to go about the process:
Note: You can make a one-to-one connection with wire nuts or by wiring all your strips to similar positive and negative wires.
Step 1: Get Your Materials
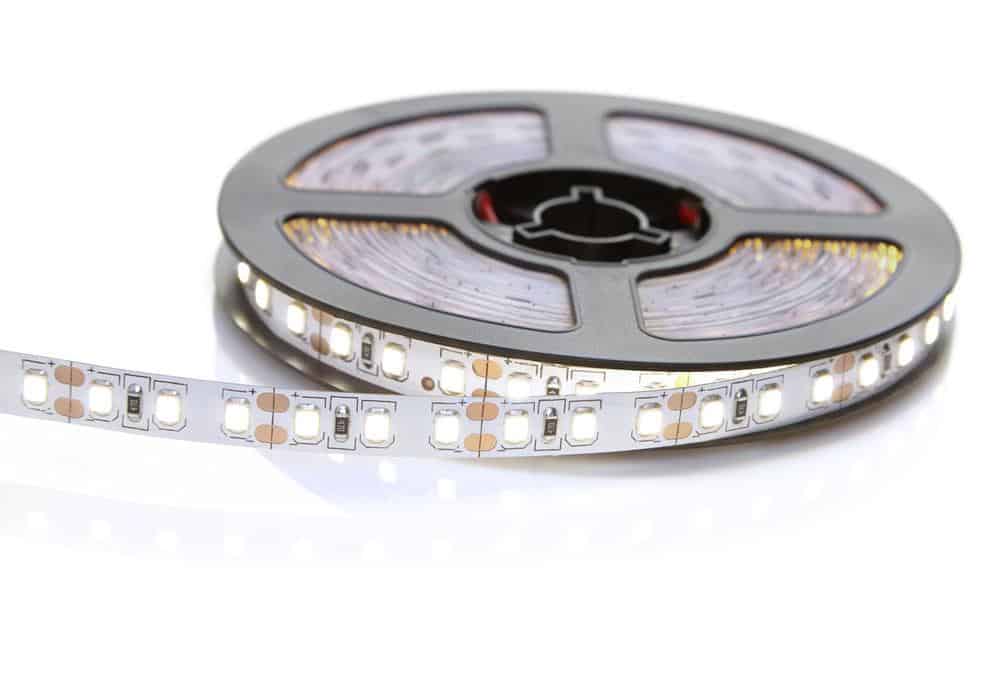
LED Strip with Marking Lines
First, measure the strip length you need for your application. But while at it, ensure that you only cut the marking lines. Otherwise, you’ll damage the LED strip.
Also, get your control device. It could be a wireless/Bluetooth controller, switch, or dimmer. Also, you’ll need a power adapter, male barrel plugs, and an A/C power cable (depending on your needs).
Further, you must confirm your power supply area’s compatibility with a Bluetooth connection, dimmer, or switch. Then, you’ll have to brainstorm the most aesthetic and safest way to hardwire your LED strips. Also, find your strip’s essential specifications before mounting the device.
Step 2: Make your AC and DC Connections
You’ll need a wire connector for this part. It’ll help clip your strip’s wires for faster and easier connections.
Also, the power adapter you’ll use for the connections should depend on your strip. For instance, if you’re using a three-colored adapter, it’s crucial to do some color matching.
First, link your brown wire to your power adapter’s live port. Second, connect your blue wire to your adaptor’s neutral power.
Then, look for your adapter’s strip wire and connect it to the ground port. Additionally, you can use a 12v or 24v power supply for your RGB strip.
Making your DC connections is quite similar. But you’ll need the male barrel plug for your DC power. Then, you’ll connect the black and red wires to V- and V+, respectively.
Step 3: Testing Time
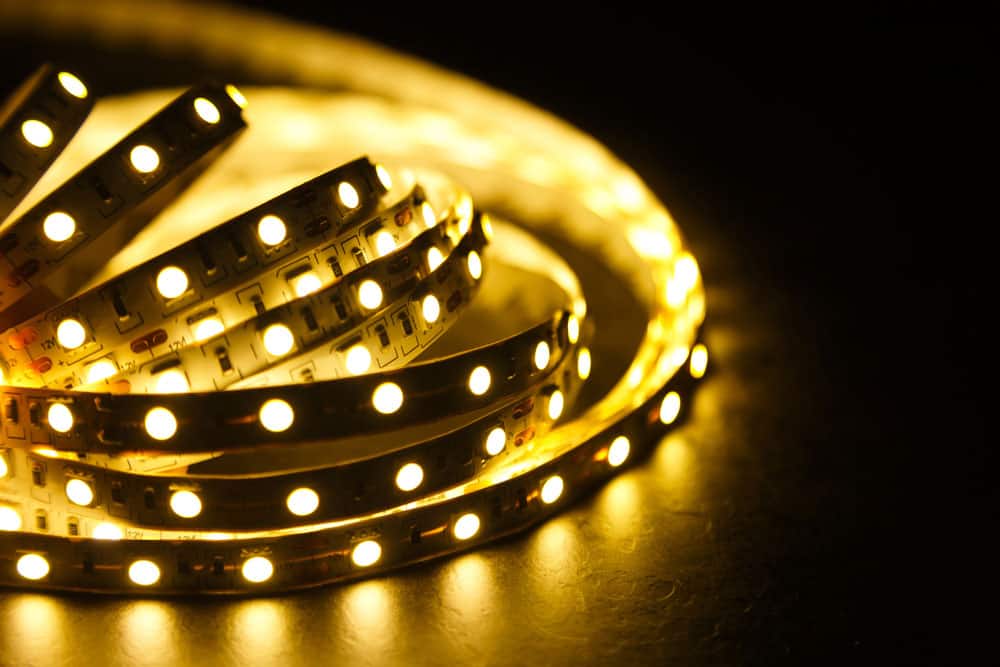
Glowing LED strip
Now it’s time to test your lights. First, check if they light up. If they don’t, try tweaking the power options of your switch.
Where to Hardwire my LED Strip Lights?
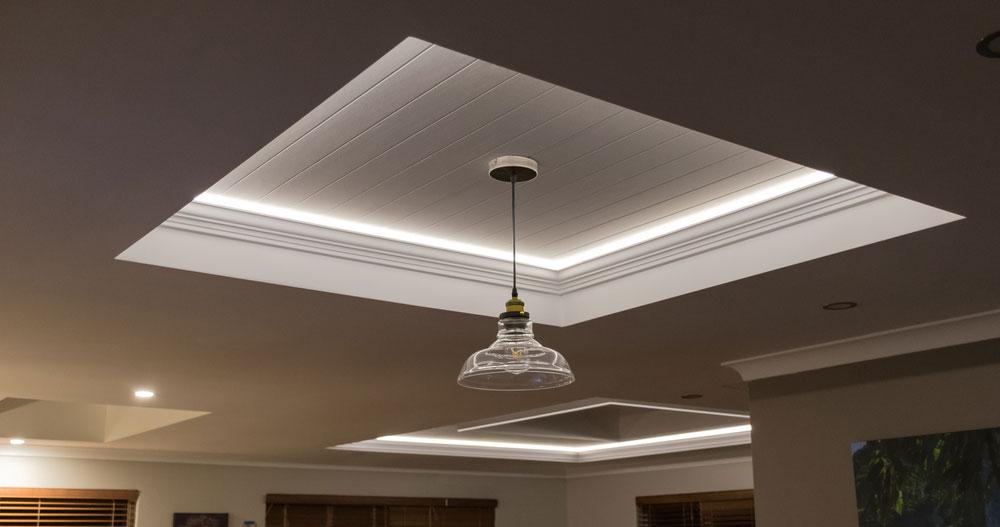
LED Ceiling Lighting
You can hardwire your LED strips in different places, like your bedroom, cabinet, cars, etc. Also, it’s crucial to note that where you hardwire your strips determines the challenges you may face during the process.
For instance, it’s easy to hardwire LED strips in your bedroom if the sockets are compatible with LEDs. It’s also pretty simple to hardwire the strips in your bathroom using one of your switches.
But hardwiring LED strips for your kitchen can get tricky. And that is because kitchens often have high temperatures, which could shorten the strips’ life span. Thus, you’ll need the existing lighting to hardwire your light strip.
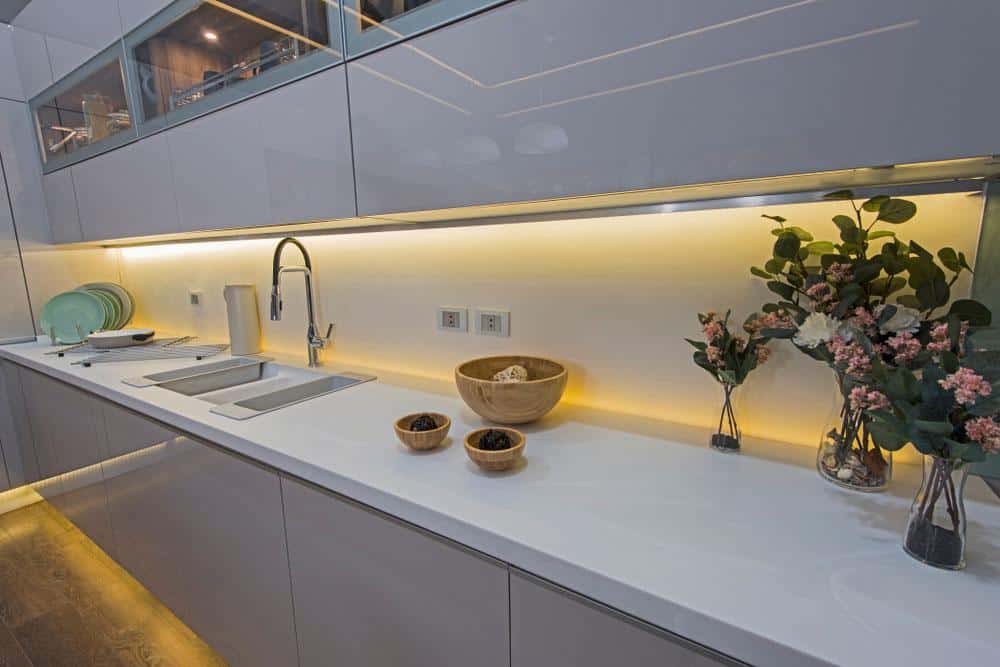
LED strip in the kitchen
No doubt, hardwiring LED strips in any space is possible. However, it’s always pertinent to ensure you examine the surroundings and voltage to know the hardwiring compatibility before installing LED strips. Also, you can check the UL/CSA/CE guidelines to see if your strip has hardwiring capabilities.
Voltage Drop and How to Avoid it
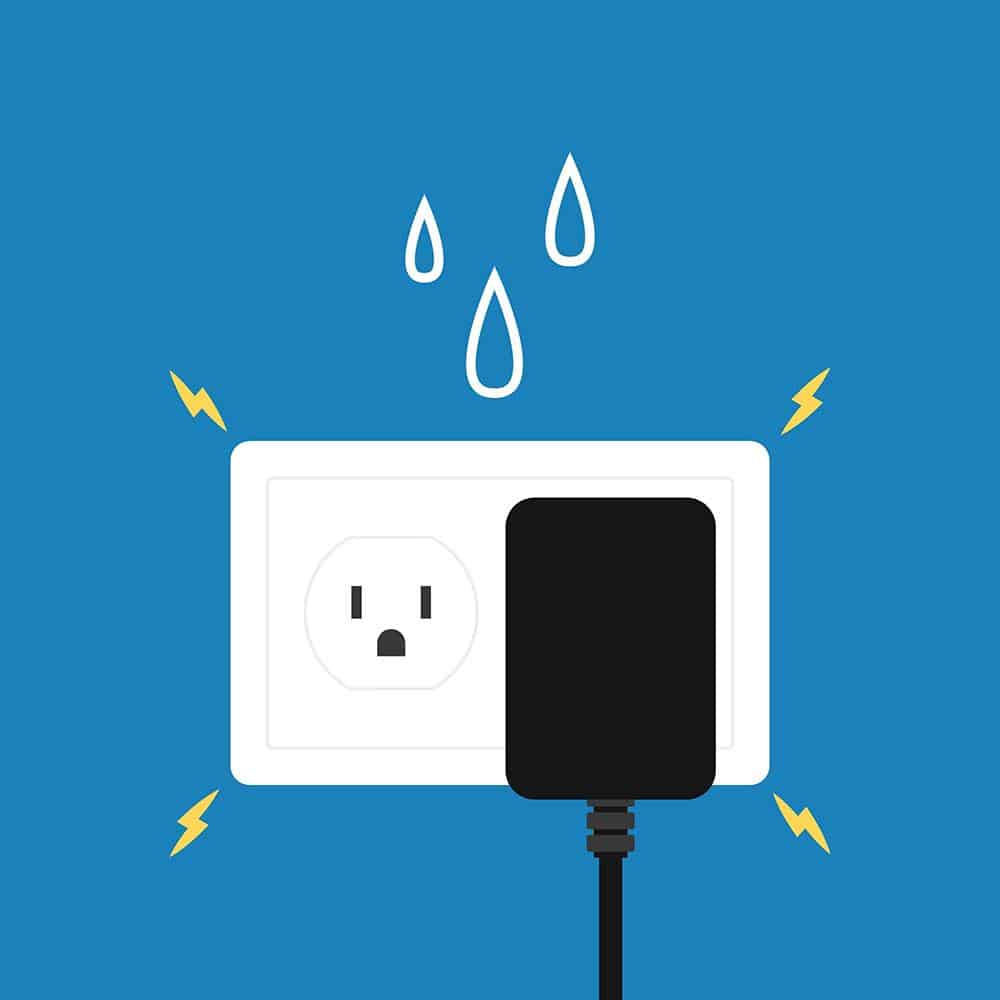
Voltage Drop
Don’t make the mistake of overlooking voltage drop effects. It occurs as voltage slowly decreases while traveling through LED strips or wires. Usually, it affects high-density strips longer than 16.4 feet and standard density strips over 32 feet. In short, going above these lengths will cause mishaps.
However, you can try cutting your LED strips into shorter lengths and linking them in parallel to your power supply. Here are ways to do it:
Method 1: Run Multiple Parallel Strip Lights
Cut your strips into two equal lengths if running more than 32 feet for some areas. Then, connect the first strip to the power source directly and run some parallel wires to where the first strip ends to supply power to the second one.
Method 2: Place your Power Supply in the Middle
Alternatively, you can place your power supply in the middle of your strip lengths. As a result, it’ll reduce the need for extra wires. And you can run your strips directly from the source in opposite directions.
Method 3: Multiple Power Supplies
This method involves using different power supplies for your strip lengths. But you have ensured that you supply power where necessary.
How to Connect Multiple LED Strip Lights

Glowing LED Strip
You might wonder how it’s possible to connect multiple strips when power sources have one connection. An excellent option for this is a caged-style power supply. These sources have two channels with terminal ports that allow multiple strips.
But, if you want the more plug-in style, we suggest running your strips into an LED strip splitter. Then, you can connect it to your power brick. These LED strip splitters have up to four outputs. Thus, you can have four strips running from one power supply.
You only need a solid connection between your strip wires and the power supply output wires for hardwiring.
FAQs for Hardwiring LED Strip Lights
Does LED Lighting Require Special Wiring?
It depends on your existing features. The most common lighting is fluorescent tubes. So, if you have these fixtures, you won’t need a special wiring kit for your LED upgrade.
LED fixtures are similar to standard lighting but with bonuses. Hence, you can use fluorescent fixtures for your LED if you can wire them according to UL/CSA/CE strict guidelines.
How do you wire LED lights to a Switch?
It’s pretty easy to wire your LED fixtures to a switch. You’ll need an nmd 90 lumex wire, which will terminate from your power supply. It’ll also run into an electrical box (usually wall-mounted).
The box is what houses your switch. So, it should fasten securely to your wall.
How many LED Strips can You Connect?
It depends on what you’re using and your power supply. A caged, open-frame power supply will give you two channels connecting up to three LED strips. But you can potentially run up to four strips with an LED strip splitter.
Rounding Up
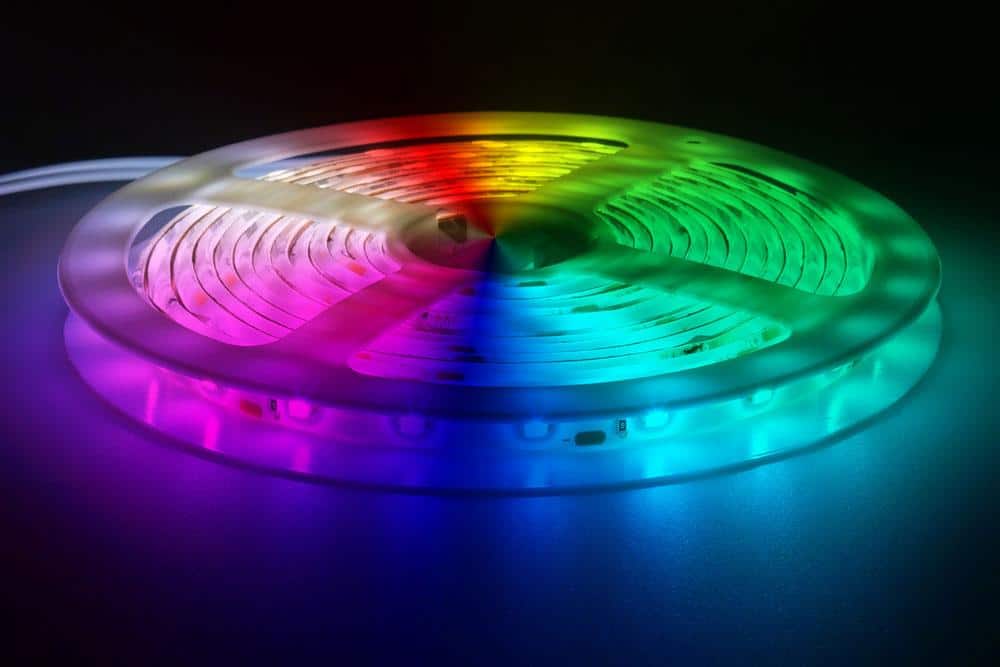
Multi-colored LED
Undoubtedly, LED strips are unique. Not only can you use them for decorative projects, but they can also work as your home lighting system or part of it through hardwiring.
However, it would help if you had the skills and expertise to handle hardwiring so you don’t damage the wiring. Regardless, hardwiring is pretty easy to accomplish.
We’ve covered all the steps you need to hardwire your LED strips. But, be sure to contact us if you have more questions.