
In truth, solar panels are kings for energy savings and renewable power. But, the expensive upfront costs of installing solar systems are a significant turn-off for most people. However, there’s hope if you must go green. And it’s because you can learn how to make a solar panel.
Now, you must be wondering if making DIY solar panels is possible. This article will teach you how to go about it with different techniques.
Are you ready? Let’s go!
How to Make a DIY Solar Panel with Aluminum Foil
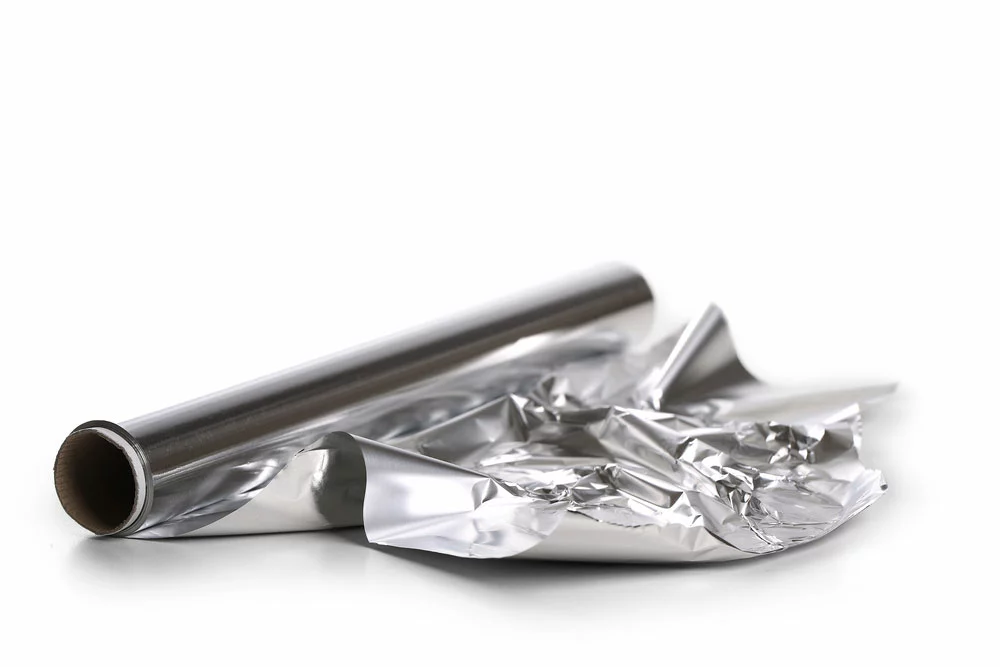
Aluminum foil
Aluminum is an excellent heat and electricity conductor. So it makes sense to use it for a DIY solar panel.
Tools Needed
- Aluminum foil
- Wire cutters
- Glass
- Insulated electrical wire
- Copper wire
- Soldering iron
Steps to Follow
Step 1: Join Your Copper Wires and Glass with Glue
First, you must ensure your glass has a square shape. Then, run your copper wire from one end to the other. And secure it with some glue.
Note: Repeat this step until you cover the entire glass.
Step 2: Wrap Your Copper wire/glass combo with Aluminum Foil
After, wait for the glue to dry to avoid spoiling the structure. Then, grab your aluminum foil and wrap it around the glass.
Also, you can cut a bigger portion of the foil (more than your glass dimensions) to cover the entire surface at once.
Note: Ensure both ends of your copper wiring stick out. Otherwise, you won’t be able to attach them to your appliances.
Step 3: Test your DIY Solar Panel
Once everything is set, you can proceed to test your DIY solar panel. Start by connecting the protruding copper wires to a voltmeter.
Afterward, place your panel in a sunny area. If it’s working perfectly, the voltmeter will read the current.
DIY Solar Panel with Blades
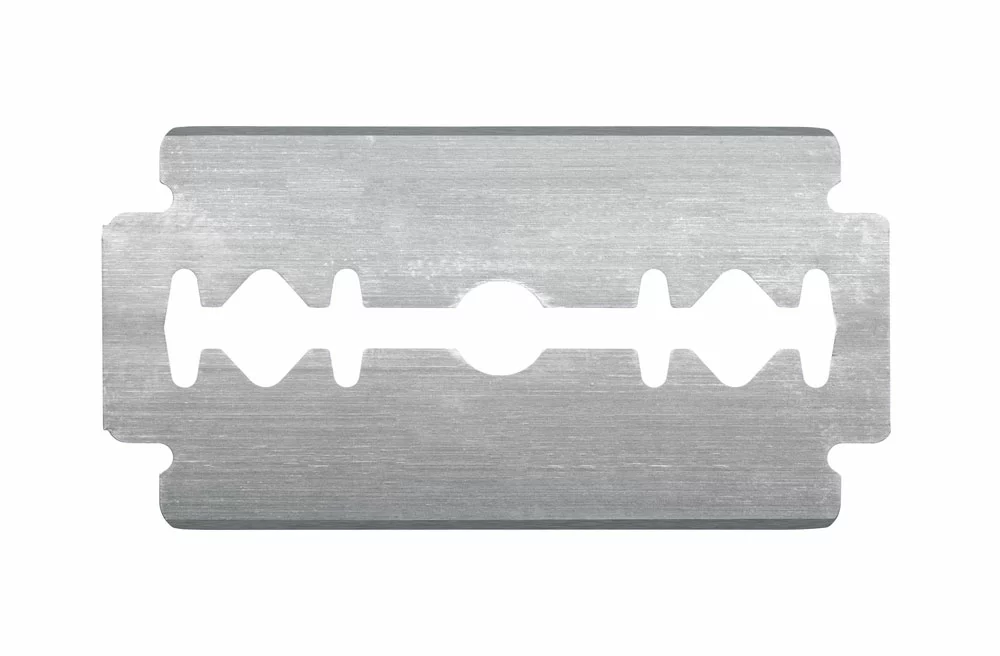
Razor blade
Yes, you can also use blades to craft a DIY solar panel. Here’s what you need:
Materials Needed
- Copper wire
- Voltmeter
- Blades
- Glue
- Cardboard
Steps to Follow
Step 1: Secure the Blades to Your Cardboard
First, put your blades in place and glue them to your cardboard. Interestingly, you can work with any shape. But ensure you have enough blades to make a bifacial DIY solar panel.
In addition, you can place some blades close to each other on one flank and do the same on the other side.
Step 2: Connect your Blades with Copper Wires
Once you secure all the blades, create connections with your copper wires. Also, you have to add copper wires on both sides of your cardboard panel. Then, secure the panels with some glue.
Note: You can swap copper wires for aluminum foil if you prefer.
Step 3: Test your Project
Finally, connect the copper wires (from both sides) to a voltmeter. Then, place your makeshift panel in a sunny area and watch your voltmeter readings go up.
How to Make Solar Panels from a Soda Can
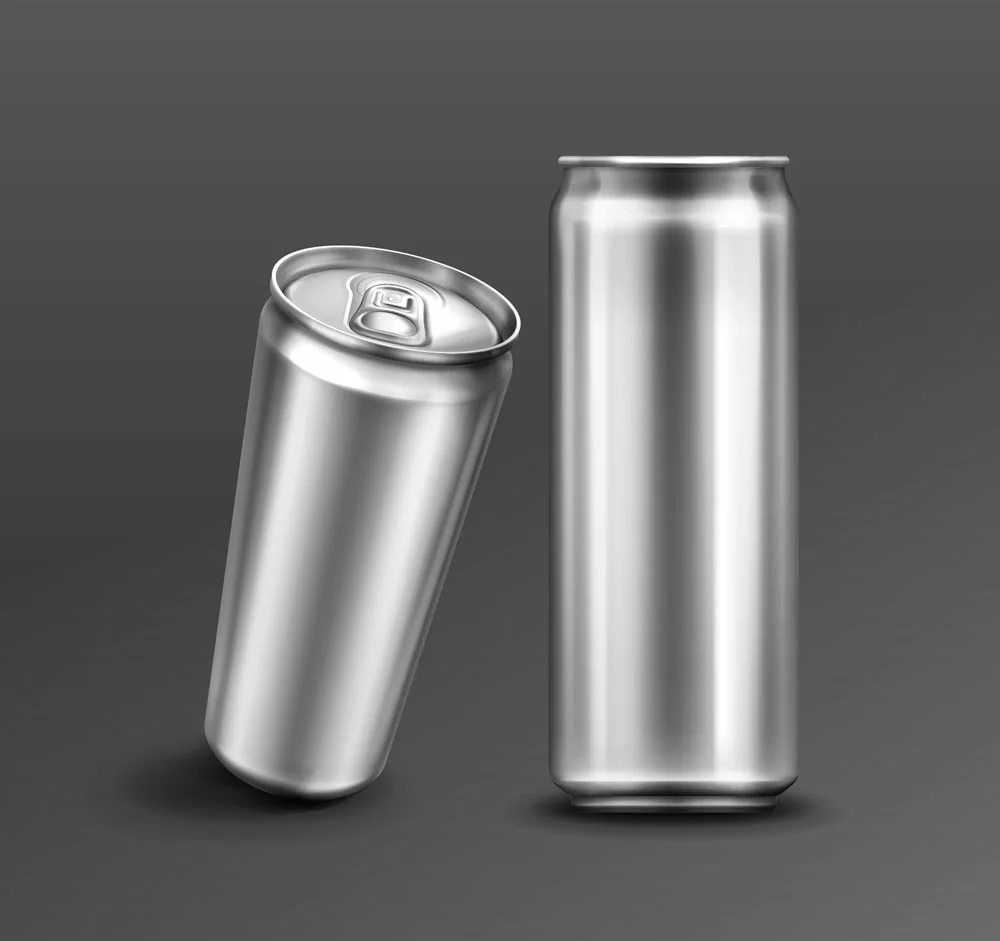
Soda cans
Did you know soda cans are useful for the DIY solar panel project? Well, you can, and the process can be tricky. Here’s what you need:
Materials Needed
- Silicon adhesive
- Polycarbonate sheet
- Soda cans
- Tubes for air output and intake
- Black spray paint
- Exhaust fan or air pump
- Plywood or sheet metal
Steps to Follow
Step 1: Cut your Soda Cans
First, cut the top and bottom of your soda cans ad dry them completely. As a result, it’ll allow them to accumulate heat better and transfer it to your DIY panels.
Further, the amount of cans you need depends on your solar panel size. So, you may need hundreds of soda cans or a few dozen.
Note: Cutting your soda cans also facilitates a turbulent airflow.
Step 2: Attach your Soda Cans
Next, join all cans together to form your panel. Stack them up until you get a sturdy block, and secure them with silicon adhesive.
Since this project reaches high temperatures, it’s best to use silicon adhesives that can endure up to 400 degrees Fahrenheit. Another benefit of using silicon adhesive is that it has an incredible thermal resistance.
Step 3: Construct your Frame
Now, it’s time to build a frame to house your soda can block. So, you can opt for a metal or wooden frame, but ensure it’s the perfect size for your project.
Further, you can use polycarbonate or glass for the surface of the frame’s front. Then, ensure that you secure the glass properly with some adhesive.
Note: Spray your construction with black paint because it helps for better sunlight absorption.
Step 4: Install Tubes
Connect your intake tube to the top of your panel’s frame and install the output to the bottom.
Note: Fill any structural gaps with soda cans or silicone to avoid reduced efficiency.
Step 5: Test your Designs
You can use this panel to power an exhaust fan. Then, connect the intake tube so cold air transfers from your room to the panels.
And connect a second fan to your output valve so your DIY structure can return warm air to your living space.
How to Build a Solar Panel from Discs

Disc
Old CDs are also perfect for making DIY solar panels. So, here’s how to transform your discs into solar panels.
Tools Needed
- Soldering iron
- Zener diodes
- Voltmeter
- Glue
- CDs
- Copper wire
- Wire cutters
- Insulated electrical wire
Steps to Follow
Step 1: Glue your Copper Wires to the CD
Place your copper wire near your CD’s center hole and extend it toward the end. Also, take it back to the center and repeat the process until you cover most of the disc.
Also, remember to glue each copper wire you run on the disc’s surface. In short, your CD should look like a flower after this process.
Step 2: Install Zener Diode
Once your copper wire assembly is dry, attach a Zener diode to the spaces between the wires.
Then, use your soldering iron to connect the ends of the copper wires to the diode. While at it, ensure you leave one end for more connections.
Step 3: Connect your Insulated Wire
Use solder to connect the remaining copper end to the insulated wires.
Step 4: Test your Disc Solar Panel
Take your crafted solar panel to a sunny spot to begin the test. Next, connect your project to a voltmeter via the insulated wires.
Your voltmeter should read the current if everything works correctly. Also, avoid placing your DIY panel under shades to get the best results.
Rounding Up
Solar panels are one of the best technologies available today. They can harness sunlight to provide energy for connected homes and devices.
However, all is not lost if you can’t afford one. Although you can’t replicate solar cells, it’s possible to make something similar. And you can start by trying some of the methods discussed in this article.
Do you have more questions? Be sure to contact us, and we’ll be happy to help.