
How to Make Gravity Light, composed of LEDs, is an excellent idea for your engineering project. So, if you’re curious about how this innovative technology works, this article is for you.
Here, we’ll show you how to make gravity light and how it works.
Thus, grab your tools, and let’s dive in!
What is Gravity Light?
Gravity Light showing the positive and negative terminals
The Gravity light is a project created to solve people without access to electricity in remote areas. The Gravity Light foundation saw this problem, including the excessive use of dangerous kerosene lamps to light up the home. So, they invented gravity lights to counter this.
This innovative technology provides an alternative lighting source without any batteries or kerosene (I’ll explain this later in the article), giving these people in remote places more hours of light.
The power source of gravity light is pure kinetic and gravitational energy. And it can last folongerhan the regular light—thanks to the slowly falling mass that comes with it.
So, you can use it for a reasonable amount of time to read, work or even charge batteries. Also, it has an LED buls attached to an alterable lamp with a hook. So, you can hang this lamp from your ceiling or hook it up to a wall.
Like a Solar power source, this kinetic energy-empowered light output provides reliable access to off-grid households. It’s also a cleaner energy form, saving the less privileged from short minutes of light or nothing.
How Does the Gravity Light Work?
Gravity Light ready for installation
Gravity lights utilize the untapped source of energy, gravity. Though gravity remains untouched, this technology has a way of maneuvering it to use this force. How? The LED lamp has a bio-mechanical design that generates its power from weights.
The gravity light has a plastic strip with holes and two bags to hold the weight. Hence, the two bags are the counterweight and the heavy bag. You can put anything between 17 to 20 pounds foinhe heavy bag, while the counterweight bag (the smaller one) can only hold 1.1 to 2.2 pounds.
You can also use plastic strips to attach the weights to the LED lamp. But that’s not all.
As mentioned earlier, the gravity light isn’t battery-powered or powered by flammable liquids like kerosene. Instead, it works like an engine powered by manual energy.
Thus, to start the engine, you need to use weights. So, you’ll need to pull the importance attached to the lamp via the plastic strips—get it started.
But here’s the best part.
To make the light work, you need to rotate the wheel with manual ener to make the light workgy. That way, you can pull the heavy load until it reaches the highest point. Then, you can release the wheel to drop the load and slowly generate electricity for some time—thanks to gravity.
How?
There’s a motor in the lamp that generates electricity when it’s rotated. So, the actions of the pulley mechanism also turn the engine to generate enough affordable and bright light.
The switch (SW1) also has a vital role in this process. Before pulling the load upwards, ensure the control is off. Also, make sure the switch is on before releasing the load. When the SW1 is off, the motor can move freely and rotate easily. When you put on the SW1, the engine offers more restricted movements. Thus, the load moves towards the ground at a slower pace.
Plus, the light is easy to activate if it goes off. Then, all you have to do is hoist the load again to generate more electricity and lighten your home or space.
How to Make Gravity Light
To make your DIY project easy, I’ve divided the steps required to create a gravity light into three categories:
1. Gravity Light Kit
Gravity light Kit
One good feature of the gravity light is its cost-effectiveness. The materials needed are affordable and easy to find.
So, here are the necessary materials you need in your kit to create a gravity light.
- Cycle spoke and spoke head
- Screw-in “O” hooks
- String thread
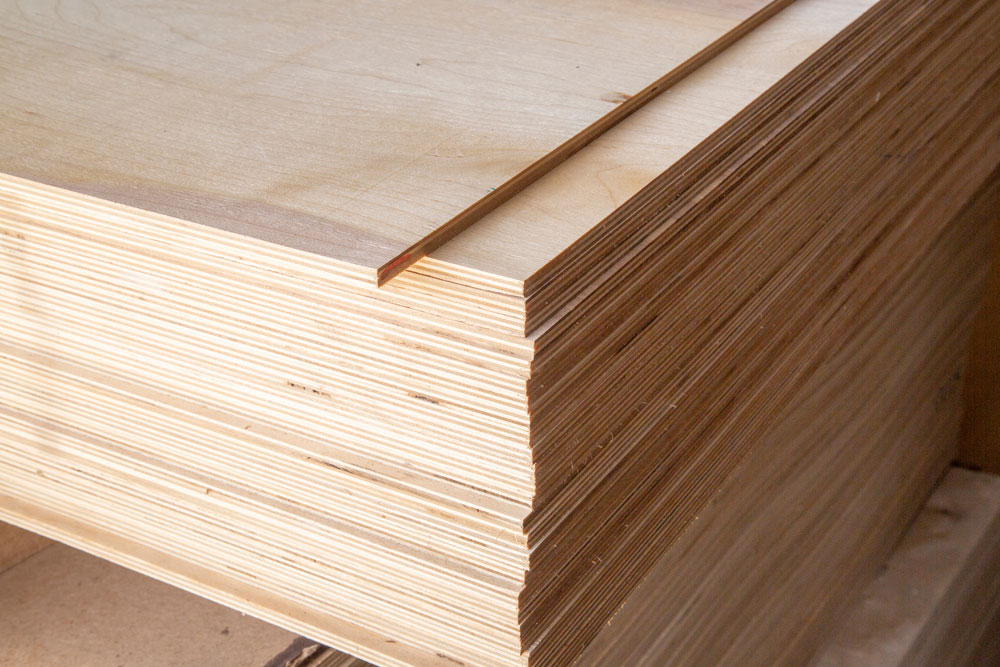
- Plywood
- 3 blocks of wood
- LED light with wires/connectors
- Long cycle chain
- 1-liter bottle with sand
- Metal tube
- Cycle rear hub with a sprocket
- 12 V geared motor with shaft
- Extra-long bicycle chain
2. Tools You Need
Here are the necessary tools you require to make a DIY gravity light:
- Screwdriver

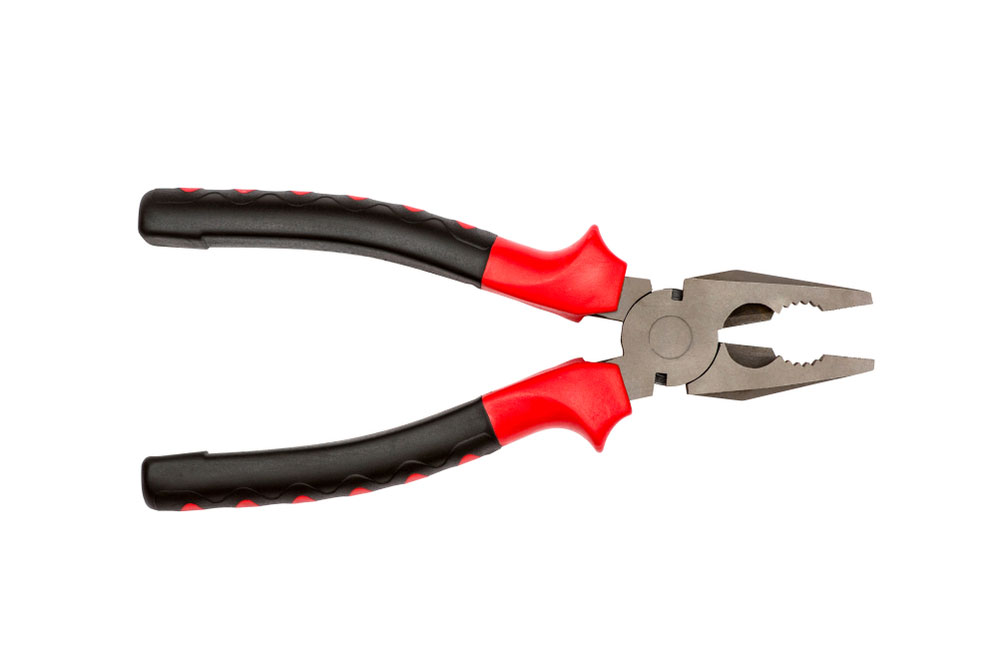
- Plier
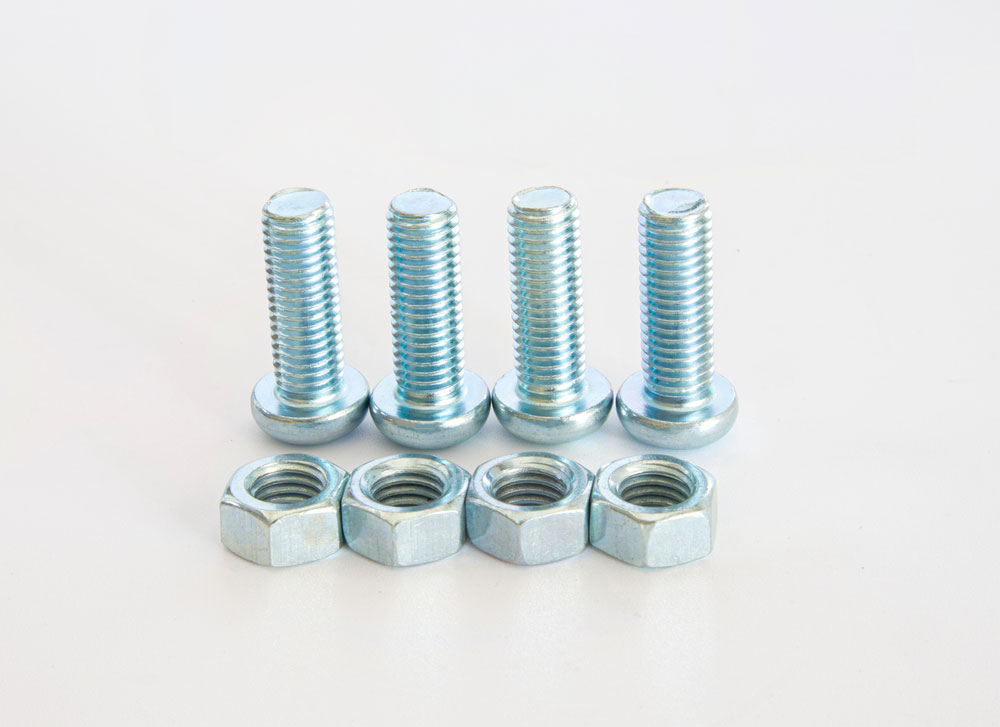
- 6 screws and 1 bolt
- “U” brackets
- Ball-bearing set x2
- Pencil
- Scale/ruler
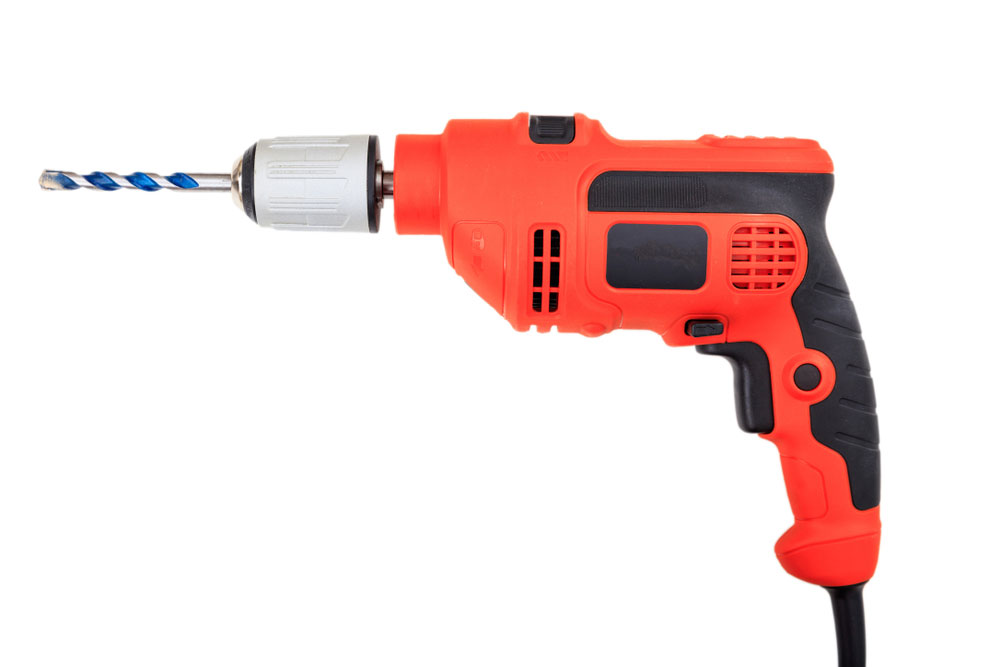
- Drill machine
- Glue gun

3. Steps to Follow
Gravity Light hanging from the ceiling
Creating a gravity light isn’t difficult. Plus, the production process is pretty straightforward—as long as you follow the steps.
So, here are the steps to make an easy DIY gravity lamp:
Step 1
Get your cycle rear wheel hub with a sprocket and make a 3mm hole through its handle. Also, get your metal tube that’s 16.5 cm long (make sure it fits into the wheel hub) and make a similar hole.
Step 2
Make sure you align the holes in the hub and pipe together, then put a tight-fitting bolt through it. Next, place your bearing sets on the pipe’s protruding ends. And if the bearing sets are loose, back it up with some paper packing to make it tight.
Step 3
Get your plywood and cut it in the following dimensions: 30cm by 20cm. Again, cut a semi-circle of 2,5 cm diameter just above the base and make the base 9cm by 3cm. Then, take your ruler and pencil and draw a line connecting the center of the top to the center of the bottom.
Step 4
The next thing is to take your 3 blocks of wood with the following sizes: 9cm by 3cm. Then, place the first block at the top and the second 2 inches away from the first one.
But there’s more. Next, install the third block at the bottom of the plywood. Next, place the hub on the blocks of wood. In short, ensure the sprockets are in position with the semi-circular cuts.
Step 5
Use glue to combine the blocks with the plywood (screw for additional strength). Then, screw the bearings tight with the “U” brackets. Afterward, place the motor shaft into the tube and let it rest on the block (make sure you glue it to the box and block).
Step 6
This step involves you installing the LED light where you want to and gluing it tight. Next, attach the wires to the motor and make holes to hang the gravity lamp with a strong 120 cm long thread.
Step 7
Finally, join two bicycle chains to make one long chain for the pulley mechanism. Then, place the chain on the sprocket and attach the bottles of sand to the chain. Afterward, hang the created gravity light and test it out.
FAQS
- Is gravity light for real?
Gravity light is ideal for eliminating kerosene lighting and other energy challenges—found in third-world countries and remote locations. It uses a mix of kinetic and gravitational energy to make clean and renewable energy for rural areas. So, yes, it’s real—you can even make one yourself.
- How long does a gravity light last?
DIY gravity lights don’t last very long, but the manufactured product can last up to thirty minutes.
- How much is a gravity light?
Gravity lights cost is as low as $5.
Closing Words
Gravity light is a potential energy source that gives instant light, and it’s affordable—thanks to the chain mechanism it uses to generate power.
The good news is:
You don’t have to be a professional to know how to make a gravity light.
So, if you’re making one for your engineering project, then be sure to follow the steps listed above and get the necessary tools and materials.
Also, if your LED doesn’t come on after completing the process, switch the wiring.
Let us know if your DIY project was successful, and feel free to contact us if you need more information.