
Recessed light fixtures provide light while maintaining a sleek design as they are hidden inside the ceiling. However, irrespective of your pot lights lighting layout, you must install the right size for good quality of light. No wonder, during lighting placement, the fundamental worry for many is how to choose the right lighting kit size. Let’s get down to the basics of how to measure recessed lighting.
How To Measure What Size Recessed Light You Have
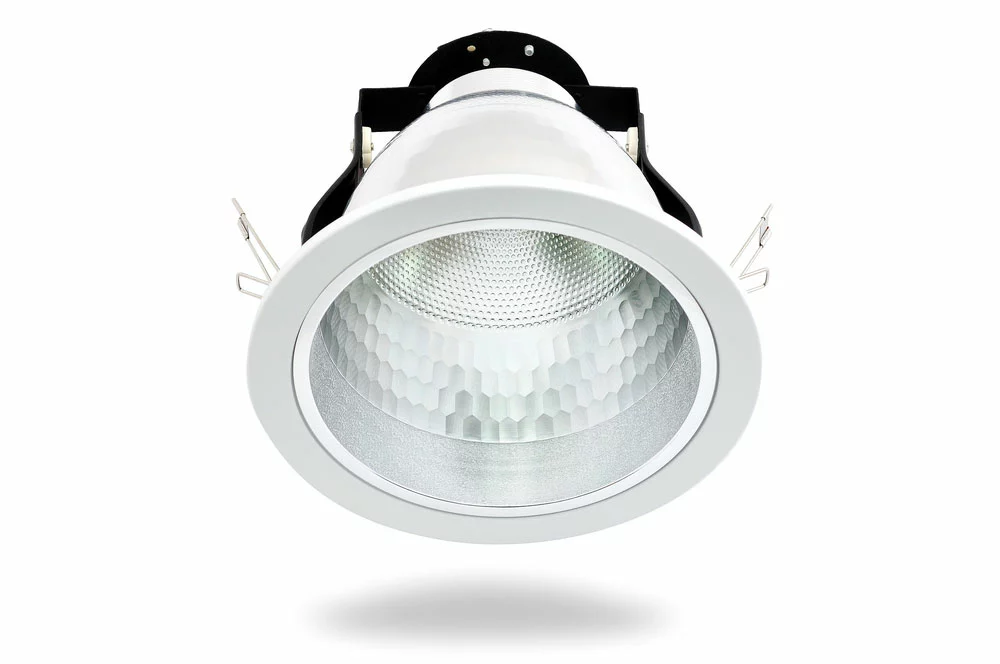
A 4-inch recessed light
There is a wide range of recessed light bulbs, but we use the same technique to measure the size of any lighting. There are many kinds of residential recessed light sizes that include the following:
- 4-inch recessed light
- 5-inch recessed light
- 6-inch recessed light.
Wrong Way to Measure the Recessed Light Size
You shouldn’t measure the recessed light size of a fixed light while including the recessed lighting trim area. Such a measurement will be inaccurate. Also, you shouldn’t measure the cut-out opening’s diameter in the drywall. You’ll obtain a larger size than the actual dimension of the inside area of the light housing.
How to Measure Your Recessed Light Size
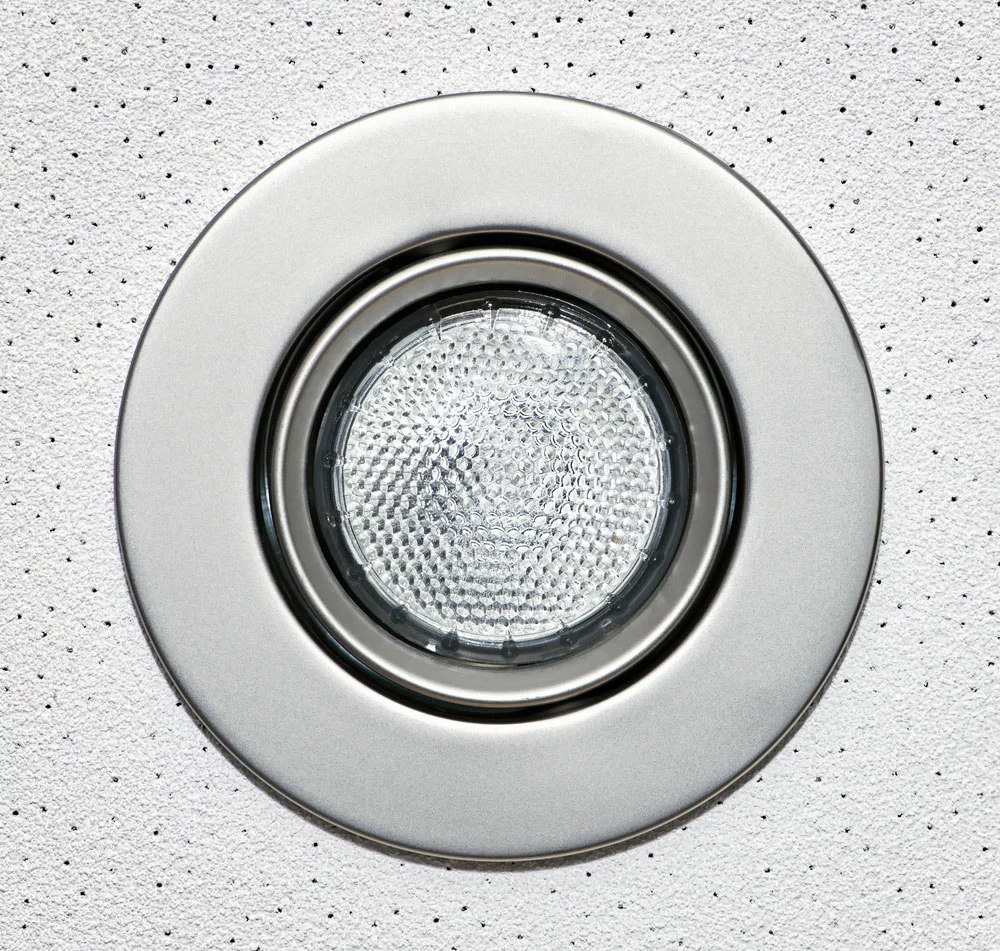
A Recessed Light with a rim
- First, assemble the tools that you need for this exercise. They include a screwdriver, measurement scale, and ladder.
- Next, please switch off the recessed fixture and unscrew it using a screwdriver. Then, remove the recessed light cover to dissociate the canned light from its casing (can).
- The separation design is different when dealing with retrofitted modern LED lights. First, you must pull both ends of the lighting while applying pressure on its innerspring. And this will separate it from the light trim.
- Lastly, obtain the size of the can at the broadest area using a measurement scale.
Notably, most retrofit recessed lighting fixtures are 5/6 in dimension. It means that you can adjust the size of the module to either five inches or six inches of the housing.
Measuring the Size of Canned vs. Canless Lights
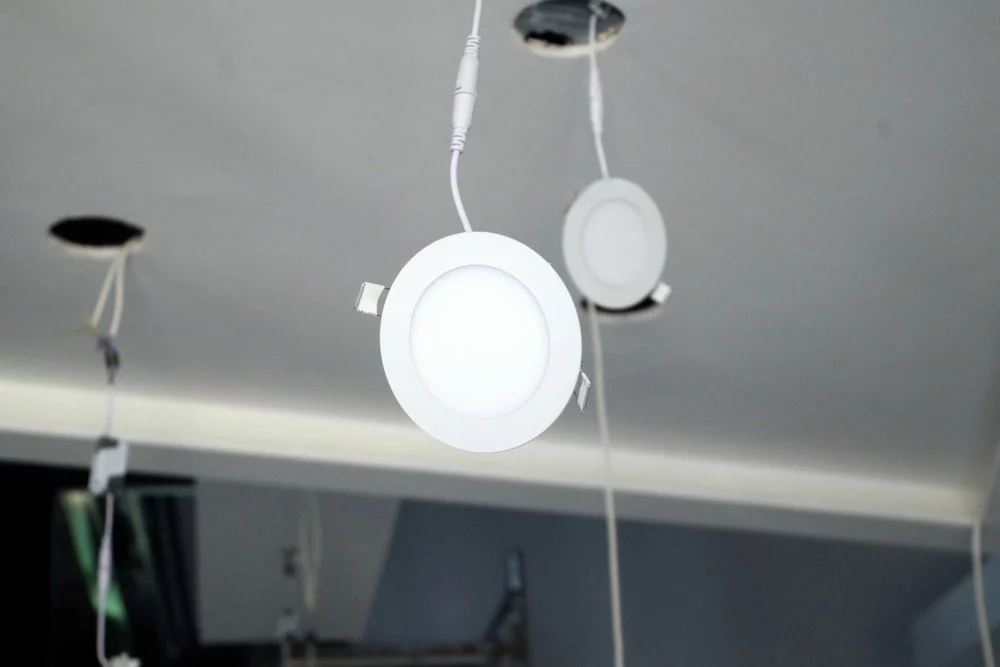
Installing Recessed Lights
When measuring the size of canless recessed lights, you don’t have to consider the housing size. Primarily this is because they have no extra housing. Therefore, the hole width should be the actual dimension of the recessed fixture you’ll fix on the ceiling.
Conversely, for canned lights, you need to make considerations for the housing. Often, they retail in standard measurements such as 4 inches and 6 inches. Hence, to obtain the dimensions of a fixed canned light, you’ll have first to remove the trim.
Fundamentally, the trim is not part of the light size. But, if you are installing canned lights for the first time, you must make a larger hole than the standard size. It is to accommodate the can housing.
Common Dimensions Of Recessed Light
Recessed Lights
The most common size of recessed light measures six inches. It is the housing size of the light. If we include the dimensions with a trim, the entire individual fixture will be wider.
Also, there is no standard trim size as this relies on the recessed lighting design. Also, you’ll often come across recessed lighting measuring 4 inches.
But when dealing with canned lights, ensure you consider the height of the can as it varies from one to the other. Notably, the two common heights include the standard can and the shallow can.
Below, we’ve compiled standard canned light sizes and the holes you need to drill to install them seamlessly.
| Canned Light Size | Housing Diameter | Hole Diameter | Standard Can Height | Shallow Can Height |
| 4″ | 4″ | 4 ⅜” | 5 ½” | 3 ½” |
| 5″ | 5″ | 5 ⅝” | 7 ½” | 5 ½” |
| 6″ | 6″ | 6 ⅜” | 7 ½” | 5 ½” |
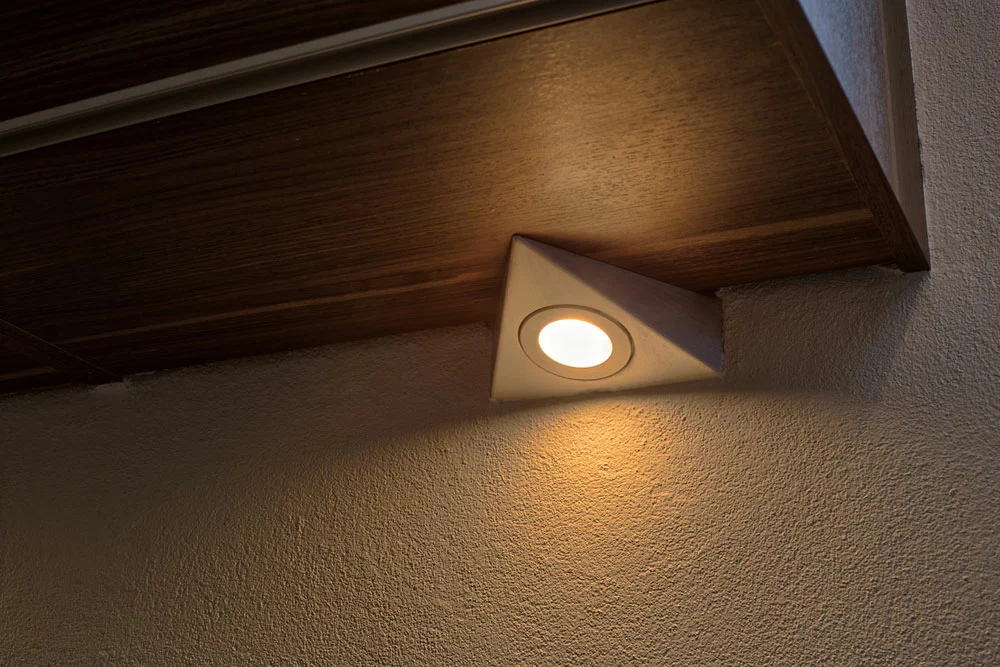
You may also come across smaller recessed lighting sizes, such as 2″ and 3″. But, they are used in cabinet lighting or as extra lights instead of main room lighting.
Once more, your hole should measure the same size as the actual can size for candle lights. But it’s also possible to fix a canned light into a less light hole via light clamps. However, you must expand the hole to a few inches in diameter to fit the trim.
How to Lay Out Recessed Lighting
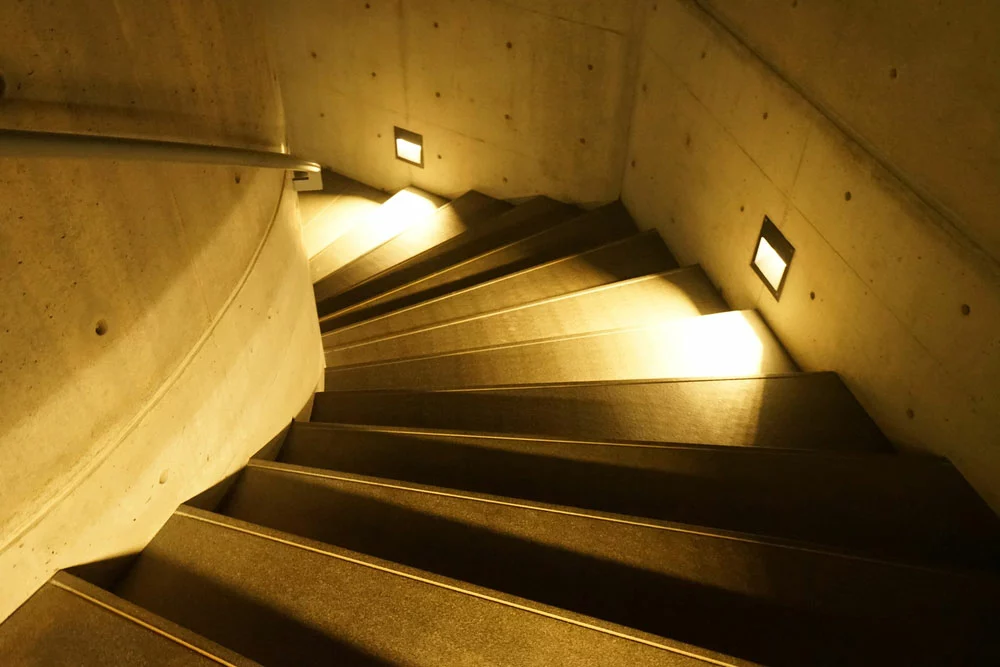
Recessed Lights on a staircase
As you plan to lay your recessed lights for a great ambient lighting outcome, the following steps are critical.
1. Know your Goal
You must set out your goal before commencing the lighting placement. Some of the objectives include
a.) Determine if you want to create extra lighting in your room without using larger lights that will look out of place.
b.) Determine whether you intend to highlight a piece of art in the house by providing extra illumination.
c.) Also, have a plan for the color temperature you are aiming to realize in the end.
For every goal, you’ll have to make specific calculations hence the need to have a clear outcome in the beginning.
2. Make a Sketch
Once you have a rough idea of what you intend to achieve, make a sketch plan. Preferably, draw your sketch on graph paper. Also, ensure you accurately represent your ceiling area via a scale. For instance, you may say one big square on graph paper will represent a particular number of square feet on the ceiling.
3. Aim for a Uniformly Well-lit room

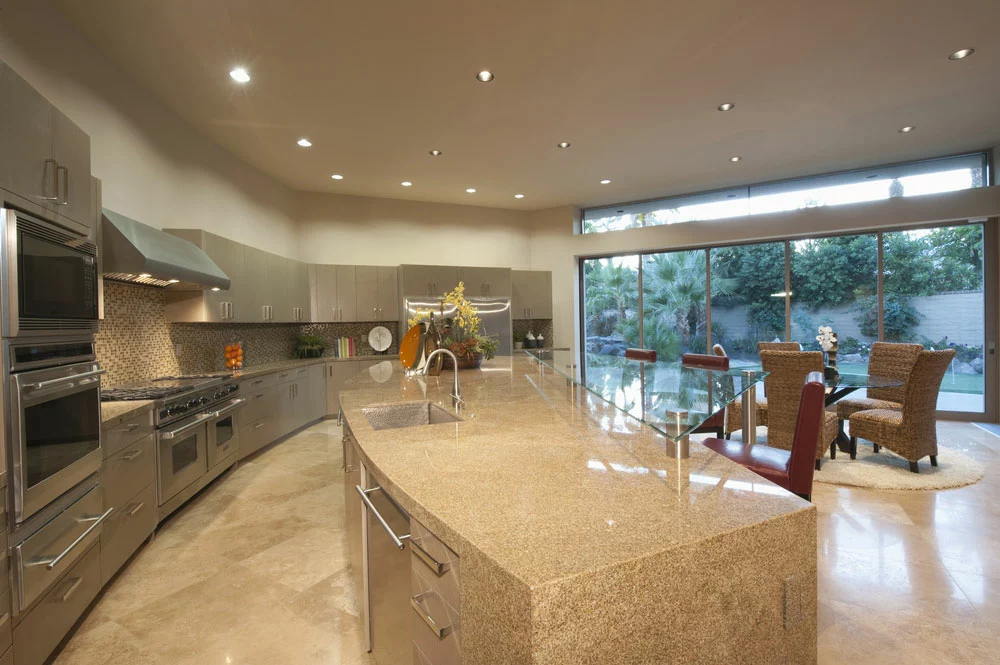
A brightly lit room
You don’t want to have shadowy corners in your home as they’ll make it dull. Also, they could give it the projection of a lower ceiling than it is in reality. Hence, follow the key lighting design principles by ensuring all areas are uniformly lit.
4. Use the Light Placement Formula
Now, it’s time to design a layout formula for the respective rooms.
The Spacing Formula
It dictates that;
The separation distance between the individual lighting fixtures = 2x the distance separating the wall and the 1st light fixture.
Simply separating the lights equally(from the wall and between each other) is not the best lighting plan. Primarily, this is because recessed lights illuminate in a conically shaped style.
Hence, equal separation of lighting spacing creates an overlap of the cones, thus leaving some parts near the wall unlit. Therefore, the best light spacing should be subject to the above formula.
5. Get the Space Criterion Right
Create the right Space Criterion
Also called the space to mounting height ratio (SM) gives the max distance between the light fixtures. Hence, although the above formula is key to giving the best spacing distance, you shouldn’t put the lights too wide.
If the lights are so wide apart, the light levels will dip, and you’ll have ineffective accents. Thus, have the proper space criterion and if in doubt, consult a professional.
6. Update Your Sketch
Once you’ve all the above considerations, it’s time to update your sketch. Now you are good to start drilling the holes in the ceiling and commence fixing the recessed lights.
FAQs
How to Choose Recessed Lighting?
Measure the cut-out opening’s diameter while excluding its trim area. Also, ensure the recessed lighting is proportional to the ceiling height or wall. For the kitchen area, choose 4-inch and 5-inch recessed light fixtures. But again, it all depends on the size of your area.
How Many Recessed Lights Do I Need?
You need one recessed light for every 4 to 6 square feet of the ceiling.
How Far Should I Put Recessed Lights From The Wall?
Primarily a recessed light should be at least 1.5 feet to 3 feet from the nearest wall. Also, you must follow the spacing formula we outlined earlier.
Summary
The secret to setting up an excellent recessed lighting system is effective planning. Besides, you must know to differentiate how to measure the diameter of canned lights from that of can-less recessed lights. For the former, the rule of thumb is that you must exclude the trim area when measuring the dimensions of a fixed light. That is all for now but for more, Contact Leask anytime.