
Have you always wondered how to stick LED lights on the wall but didn’t know where to begin? Then you’ve come to the right place! Sometimes, this task may become more tiring and difficult to tackle if they continually fall off after installation. Thankfully, various solutions can help you with placement and mounting methods to keep the LED light strips firmly in place!
So keep reading to learn more about installing your LED strip lights!
Applying LED lights to the wall
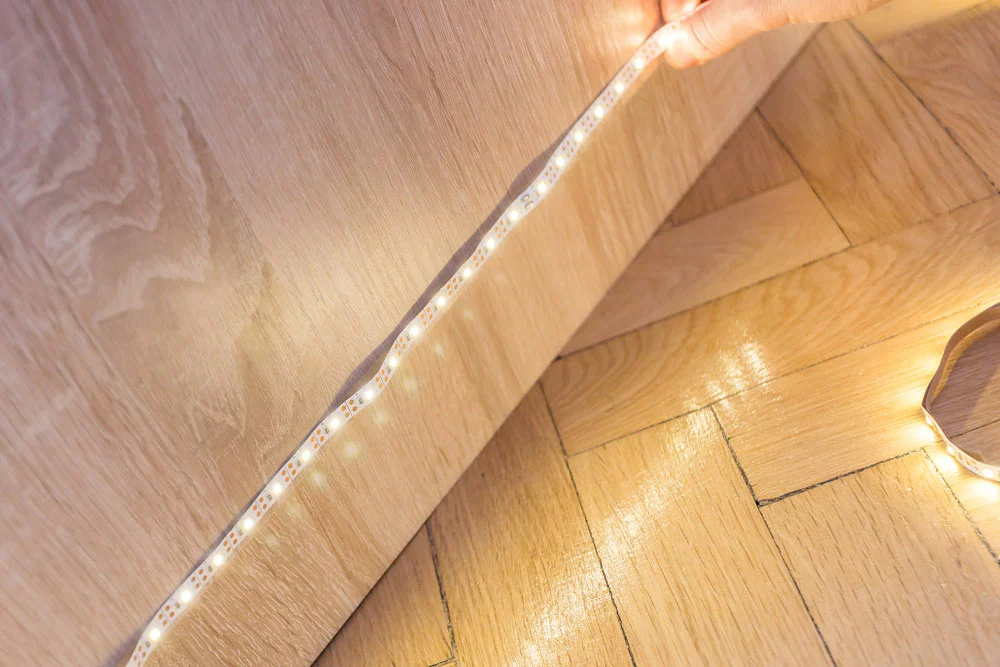
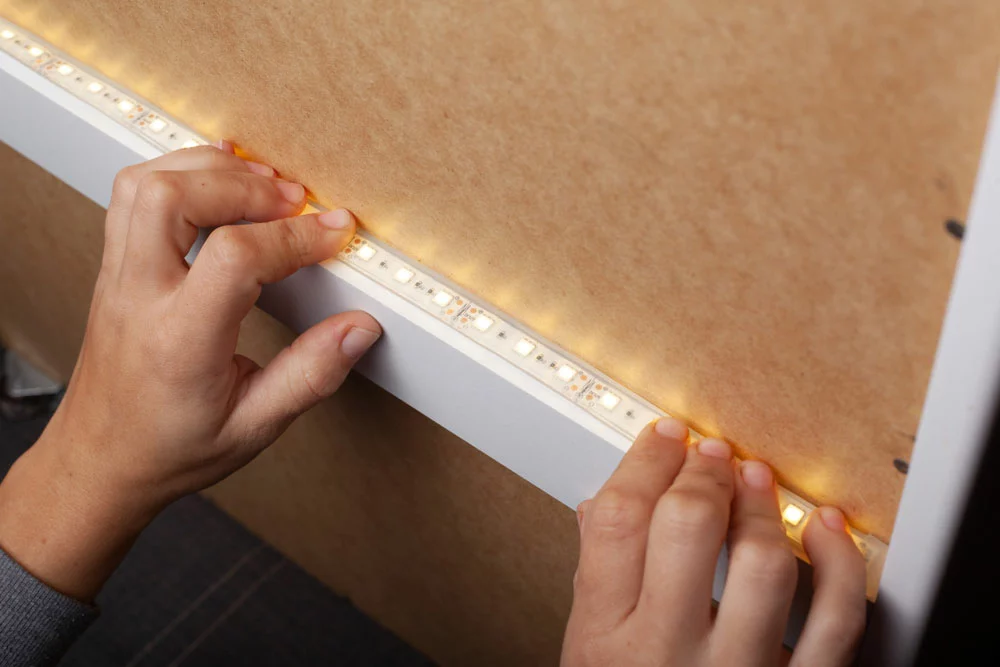
LED light strip installation.
Typically, LED lights already have an adhesive on the back, so you need to apply it on the wall. Gather the tools first, and follow the steps to proceed.
Required tools:
- Strong adhesive
- Double-sided tape
- Isopropyl alcohol
- Tape measure
- Scissors
- X-Acto knife
Step one:
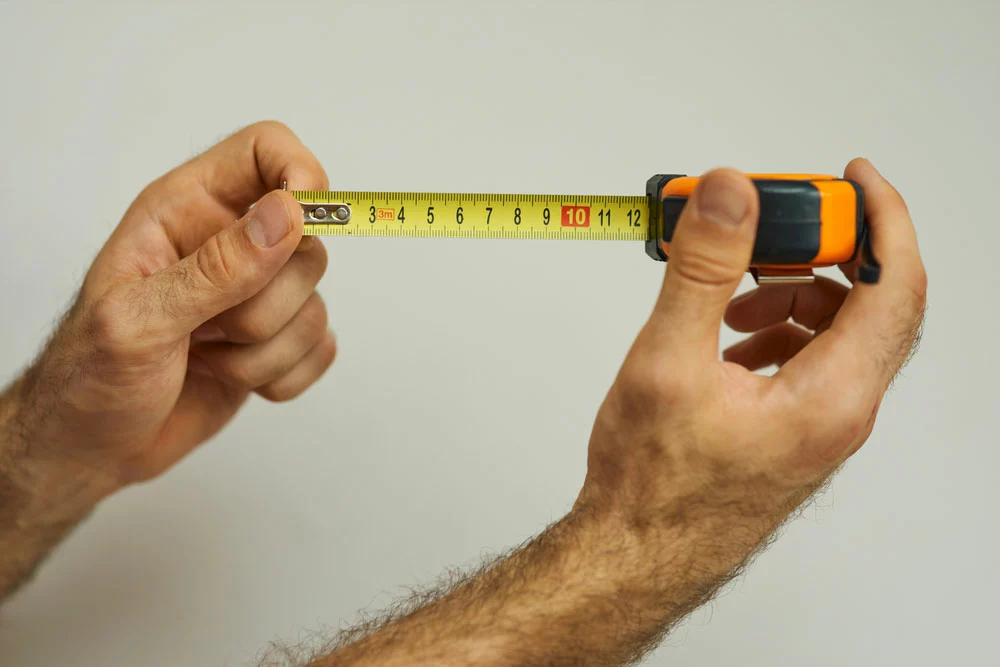
A tape measure will provide measurements.
Use a measuring tape to measure the area where you plan to apply the LED light strip. Make precise measurements so that it will fit accordingly.
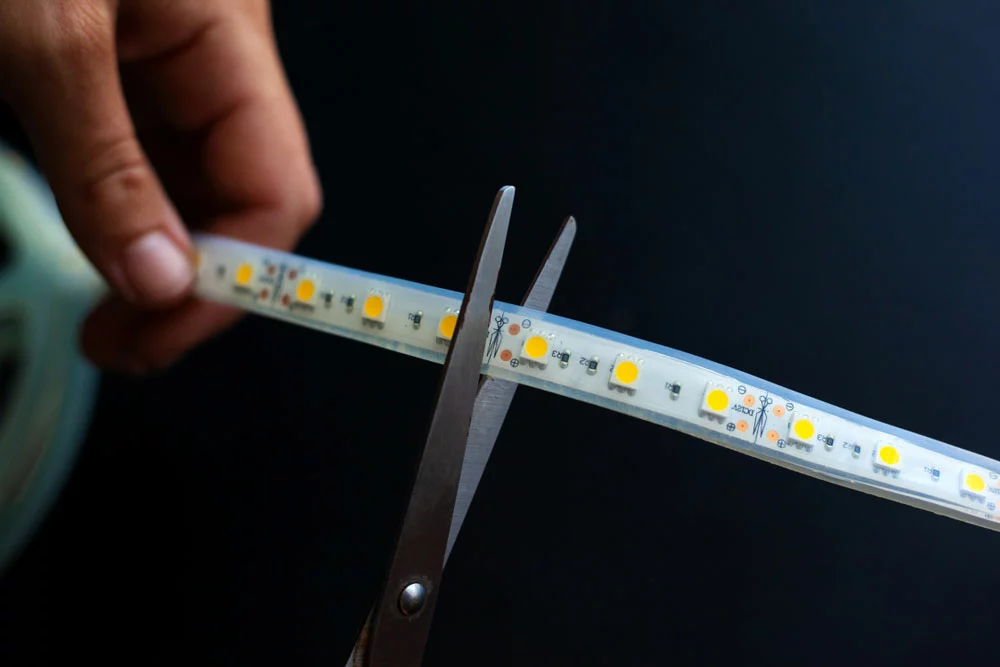
Cutting the strip into an ideal length.
Next, grab scissors and carefully cut the strip on the indicated lines, ensuring the length matches your measurements.
Step two:
Some strip lights may already have an adhesive backing. So peel the covering off and install the strip in your preferred area. Otherwise, you can apply double-sided tape on the back if it lacks adhesive.
Step three:
Next, place, align, and press the LED light strip on the surface until it stays in position. Repeat that process for the whole length. You should install the strip in an area where it can provide plenty of lighting and won’t easily detach.
Step four:
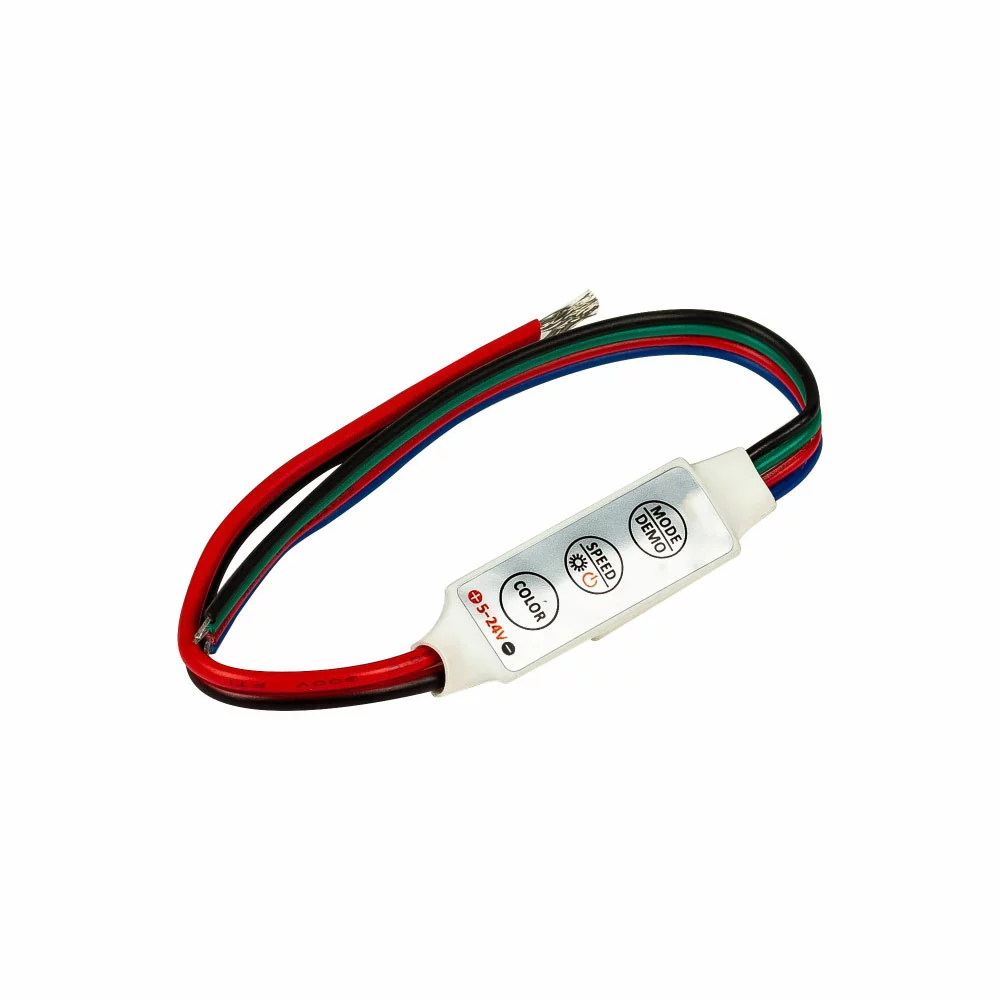
Controller for LED light strip.
Attach the LED strip light to the controller. Then, connect the connector cable to a power supply, which plugs into a wall outlet.
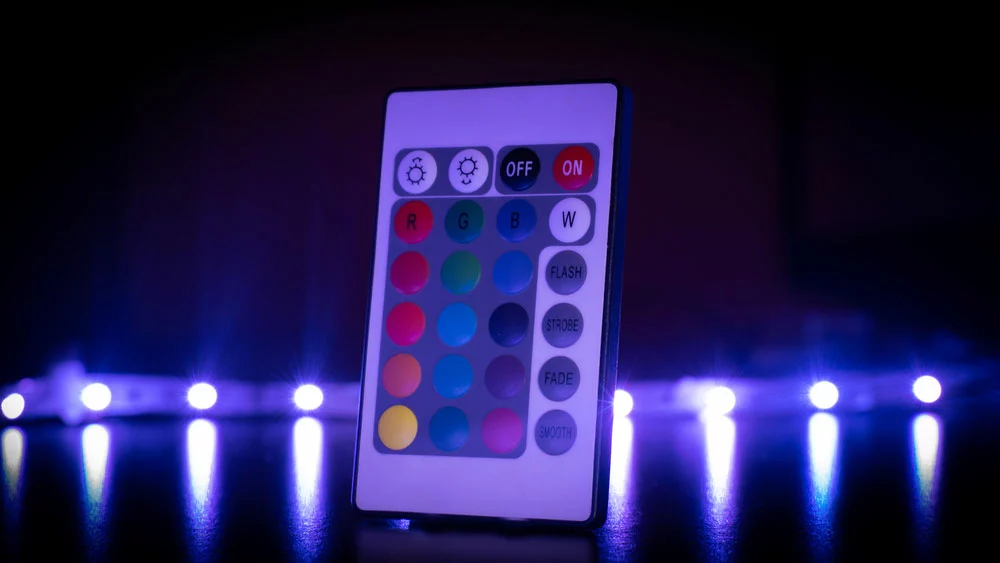
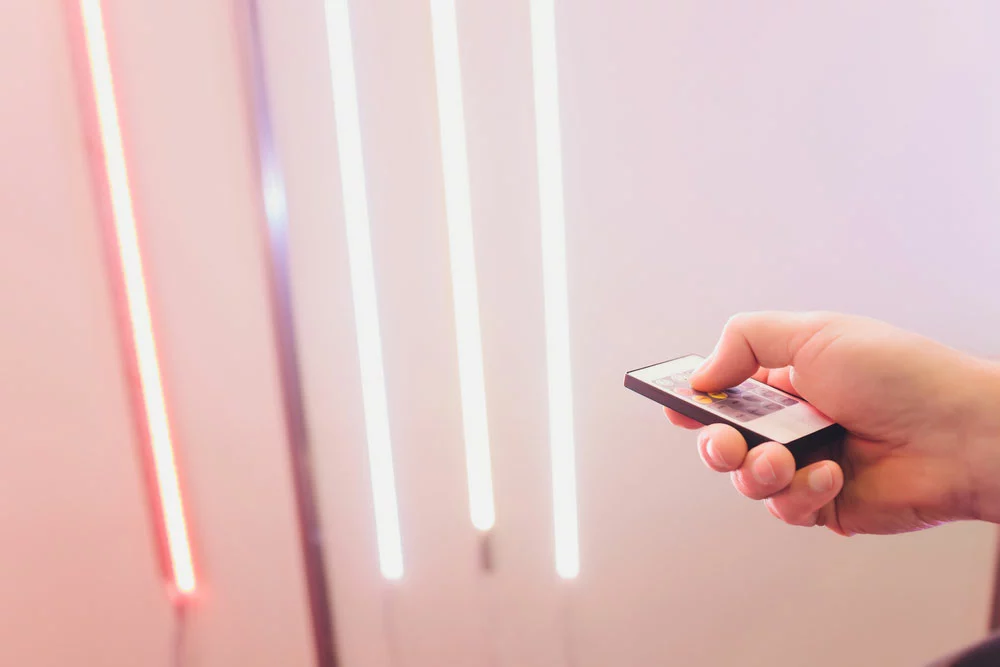
Illuminating LED strip and the remote control.
Lastly, turn the light strip on with the remote control. Push any button to adjust the brightness or change colors to ensure everything works correctly. Alternatively, you can press the power button on the controller.
Step-by-step guide for safe LED strip light removal from the surface
LED strip lights on a surface.
These steps will show you how to remove an LED strip from any flat surface without damaging the product or wall.
Step one:
First, disconnect the LED strip lights from the power source. Grab and turn on a blow dryer, aiming it directly toward the back of the strip. Keep the dryer in this position for no more than two minutes, or it will damage your product. Applying heat weakens the adhesive, allowing you to pull it off the surface with fewer residues.
Step two:
Afterward, place a credit card or butter knife between the LED strip lighting and the surface to cause separation.
Then, take your time and gently wiggle it until the adhesive loosens and peels.
Step three:
Lastly, remove the strip off the surface, and keep going until entirely detached. If you see any leftover residue on the surface, then clean it off with isopropyl alcohol. You can also wipe it off with your thumb.
Alternative solutions to consider if the LED strip adhesive won’t stick
It becomes increasingly frustrating when the adhesive weakens, causing the LED strip to separate from the surface. Thankfully, you can refer to these solutions to back them up without worrying about any issues.
Mounting Channel:
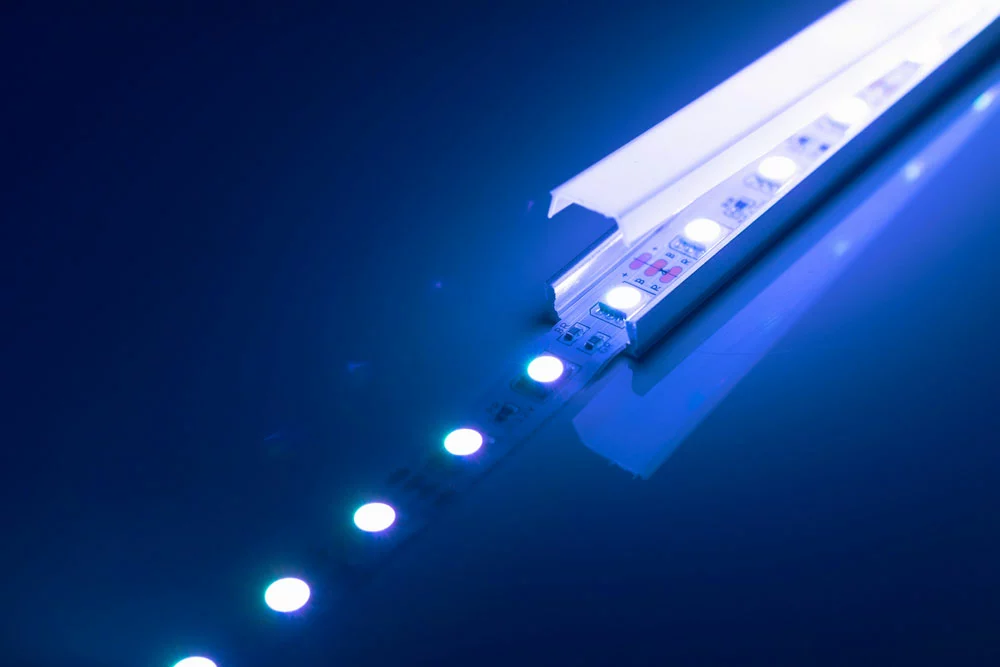
Light strip inside a mounting channel.
A mounting channel is an excellent option because it makes the lighting look more professional. This fits the entire strip while keeping it in one place. You must insert the strip into the channel before connecting its cables to the power adapter. Then attach it to the surface of your choice.
Double-sided Tape:
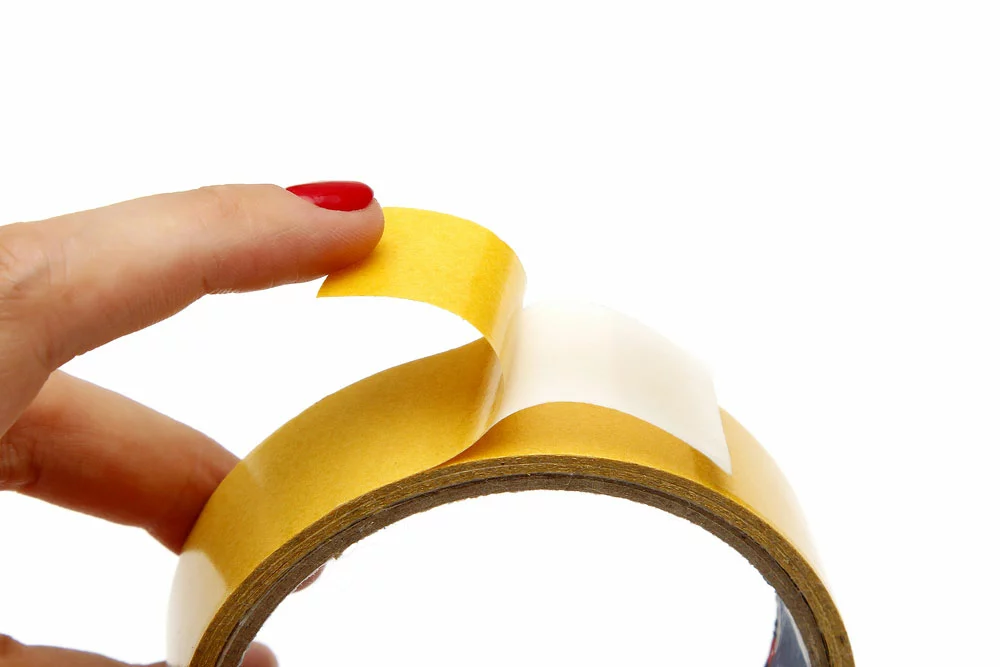
The double-sided tape serves as a great alternative.
You can also apply double-sided tape to the back of your LED light strip. This provides a firmer grasp on the surface, making it more difficult to peel away and fall.
Mounting Clips:
Mounting clips are quite durable and more affordable than the previously mentioned solutions. Drill a screw for each clip you want to install for the entire strip length.
Resticking LED lights
Follow these steps to place your LED lights elsewhere. The first step involves removing leftover glue on the strip.
Step one:
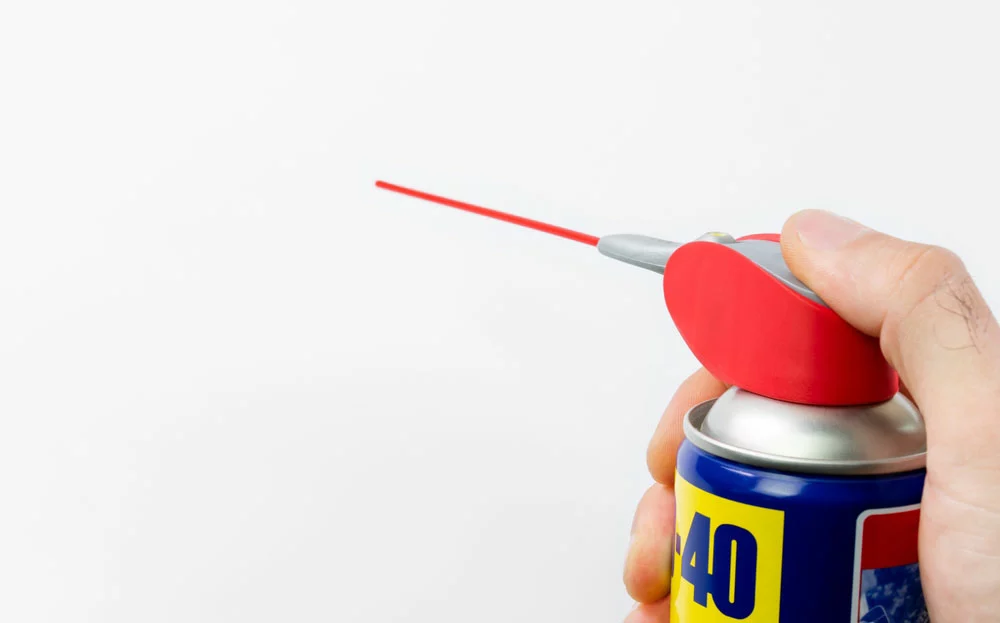
WD-40 can help remove leftover adhesive on the back of the LED light strip.
Remove any leftover backing adhesive from the LED light strip, mainly if it detached due to a power surge. Use soap, WD-40, putty, or a cleaning agent to clean off the remaining glue.
Next, cleanse the new surface where you plan to install the strip by wiping it with rubbing alcohol.
Step two:
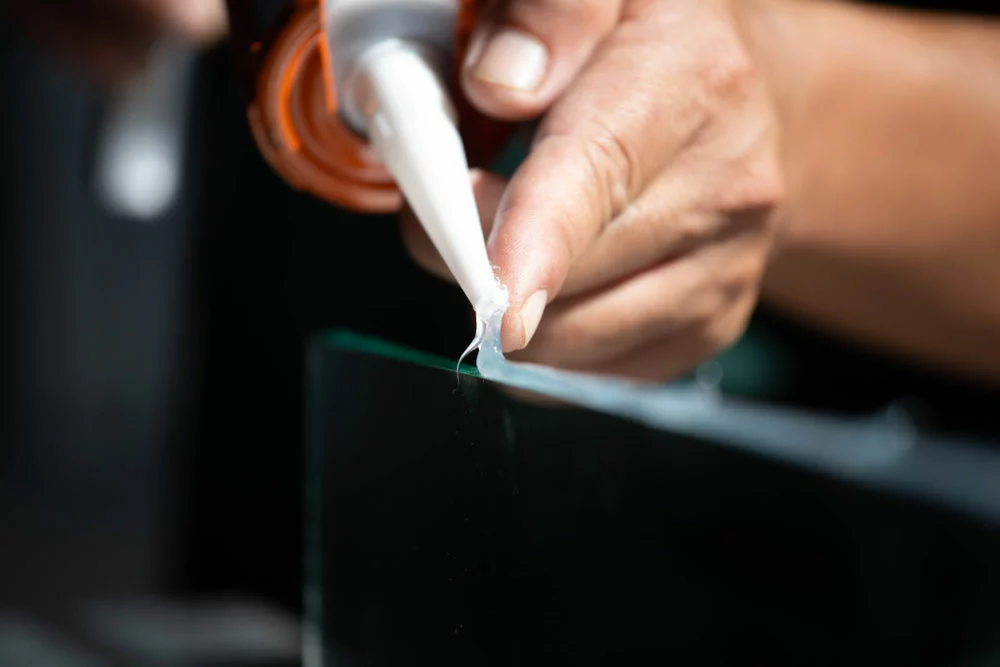
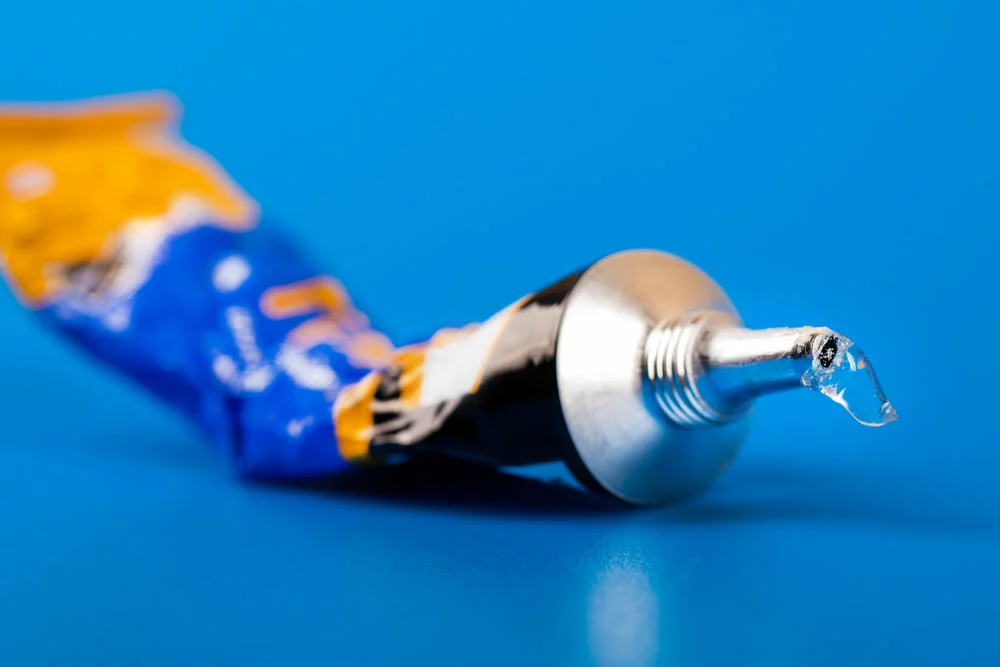
You can apply silicone adhesive to your LED strip.
Add a new adhesive layer to the LED light strip backing. Make sure it matches the width and length. Before starting, align each strip edge on the surface during installation. Also, prevent adhesive overlays as this could make it stick less.
Step three:
Next, press the strip lights in place and let the adhesive completely dry, which could take a while. Avoid areas with direct heat sources or air conditioning since these factors could result in quick peeling.
Step four:
Illuminating the LED lights via remote control.
Once the adhesive dries, turn on your LED strip light to determine if it still works properly. You can also connect it to a power strip instead of a wall outlet to prevent the strip from detaching due to a power surge.
Install an adhesive cover to protect the glue. Of course, these will help keep the strip on the surface while it remains unlit.
FAQ
Can My Walls Sustain Damage From Removing LED Light Strips?
Unfortunately, yes. But it depends on factors such as adhesive strength, environmental conditions, and how long they’ve stuck to the wall.
Does Paint Also Come Off While Removing LED Strip Lights?
That depends on the paint quality and adhesive strength. After all, delicate paint will more likely come off after removing the strip with strong adhesion.
Can You Apply Super Glue Instead?
Applying super glue will damage your LED strip and wall after removal.
Yes, but we strongly recommend that you do not try this method. It has a strong bond that damages the LED strip and the surface.
Summary
LED lights attached to your wall or any surface may eventually fall off due to certain conditions. That can be a huge hassle! But now you won’t need to worry about that anymore. With the solutions mentioned in this article, you can keep them firmly in place and enjoy the lighting installation.
Do you have any questions on how to stick LED lights on the wall? Feel free to contact us!