
A DIY LED lamp kit is the perfect project to tackle, whether for your home or learning about electronics. These LED lamp kits are environmentally-friendly and energy-efficient and help homeowners save money on their electricity bills. Thanks to those characteristics, LED lights have become increasingly popular.
An LED lamp can’t power up by itself. It needs a circuit to do the job.
Building an LED kit is easy to learn. After reading this article, you will learn how the circuit’s features work and provide power to your LED lamp. Additionally, this guide provides the necessary steps to put it together via soldering. The article also gives you insight into different types of LED light kits.
So let’s take a look!
DIY LED lamp kit
Tools needed:
This LED lamp kit contains the following components:
- 10ohm R2 Metal Film Resistor x1
- 200K R3 Metal Film Resistor x1
- 470K R1 Capacitor x1
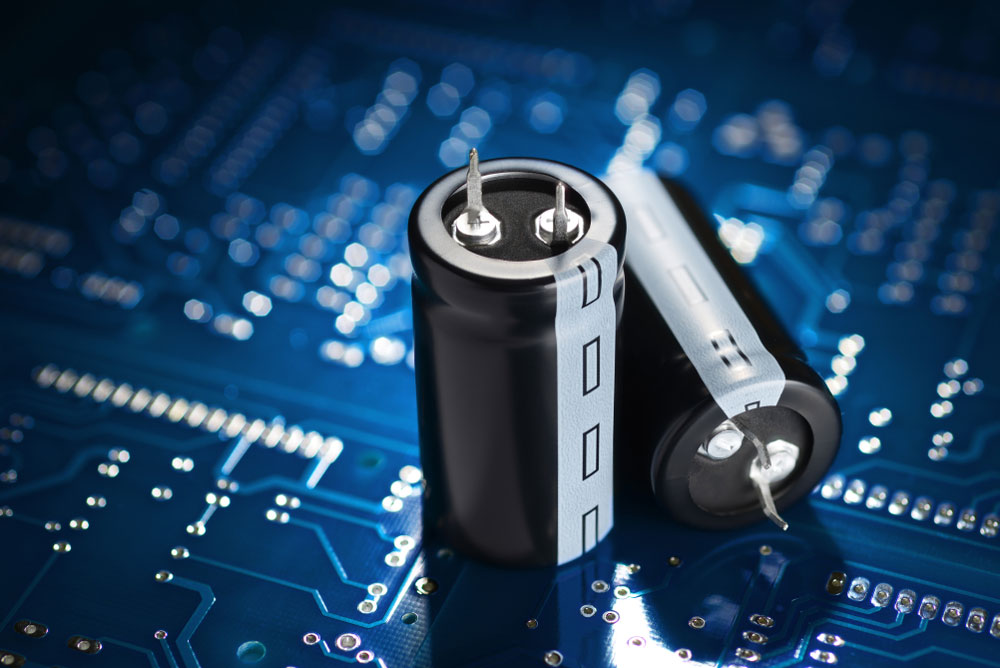
- 1uf 400V C1 Capacitor x1
- 4.7uf 400V C2 Capacitor x1
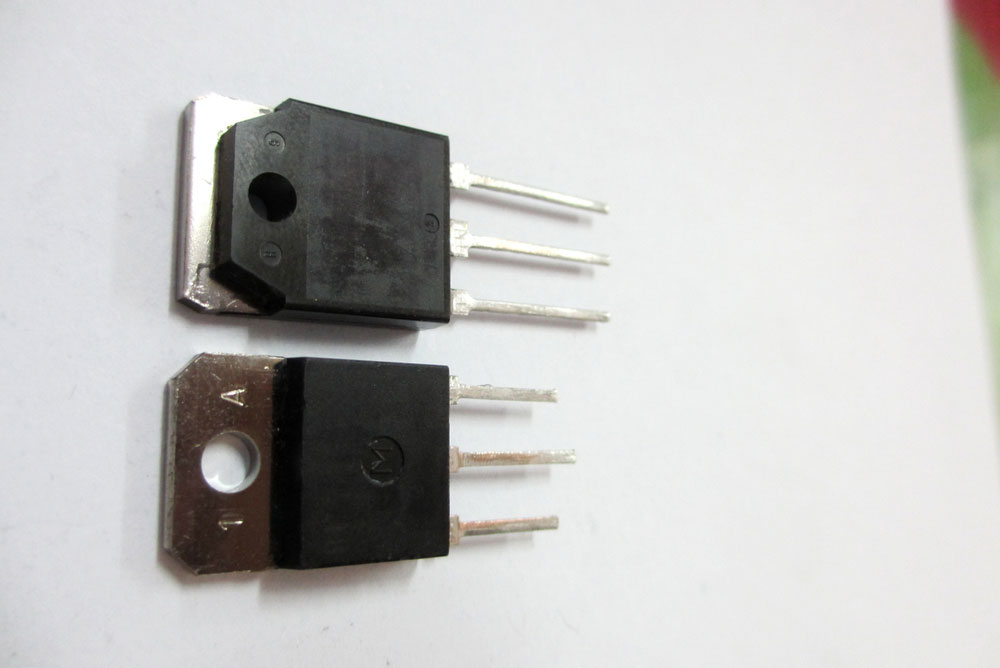
- 1N4007 D1-D4 Diode x4
- Lamp housing x1
- Lampshade x1
- Lightboard x1
- Powerboard x1
- 60mm Red Cable x1
- 60mm Black Cable x1
This DIY LED lamp kit requires the following tools: 30W soldering iron, 0.8mm solder stick, multimeter, tweezers, and diagonal pliers. Preparing the LED lamp kit for installation is easy. For starters, ensure you have the right amount of specified parts. Then, use the multimeter to measure resistance. Lastly, adjust the part’s polarity and the circuit board’s mounting direction.
Parameter Description & circuit principle:
This project involves using an 85-277VAC YSU-L120 LED lamp. The lamp measures 130mm in height and has an 80mm shade diameter with a luminous flux of 280-320LM. It consumes 6W of power and has transparent color.
The circuit’s RC capacitor requires 220V to run, relying on a low-voltage alternating current. It also supports voltage stabilization, and a filter removes the pulsed DC, producing smooth DC instead.
Steps to install and solder components:
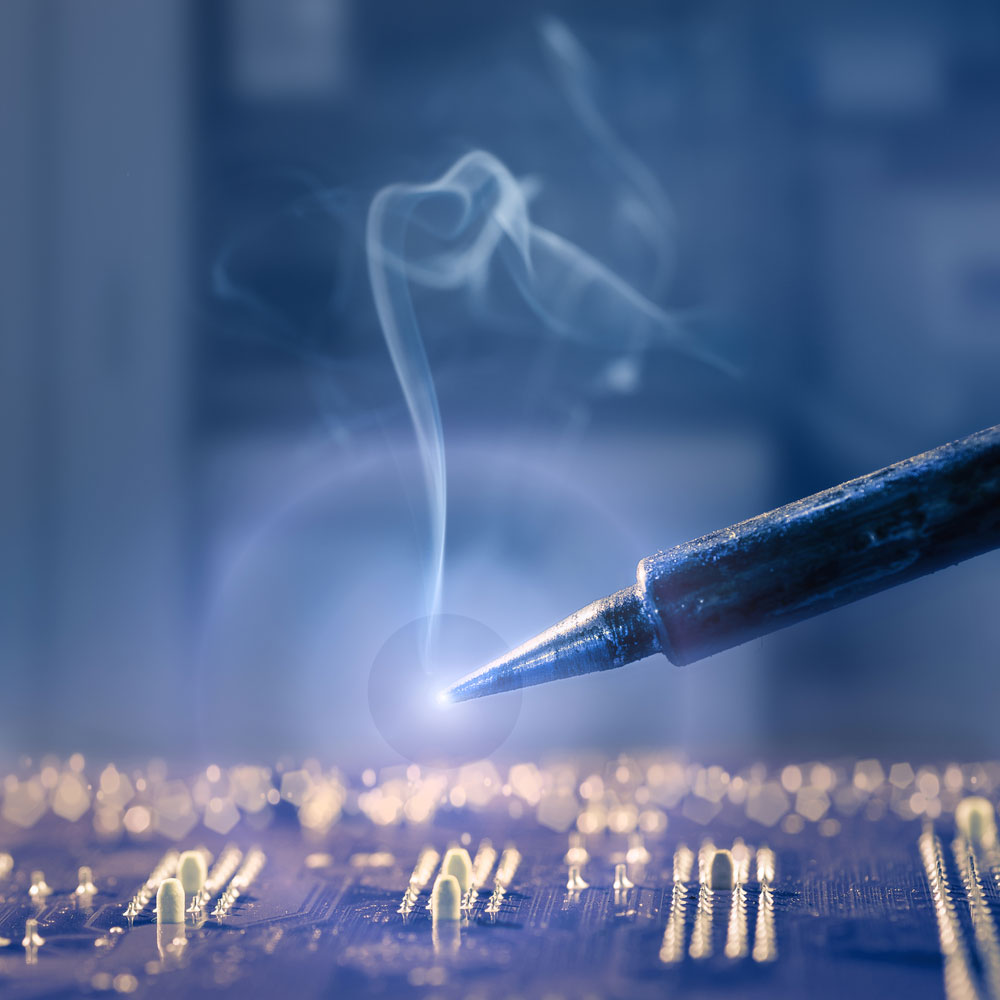
First, solder the 10ohm resistor on R2 and the 200K on R3. Then, weld all four diodes on D1-D4. Afterward, weld the 470K capacitor on R1. Next, solder the 1uf-400V capacitor on C1. The final 4.7uf 400V capacitor welds on C2.
Next, weld both red and black wires together. Then, weld the LEDs.
After welding, connect the power and light board. Finally, hook the power supply board to the lamp cap.
At this stage, you can determine if the LED light illuminates. If successful, move on to the next steps. Every LED should light up because removing the lamp cover is difficult after installation.
Fit the light plate on the lamp shell fixing column. Use the soldering iron to diffuse the fixing column. The final two steps are straightforward: put the light board in the lamp housing and install the soft cover.
Types of LED light kits:
Depending on the project, you can also install different types of LED lights. Specially designed for in-home or outdoor use, these LED light kits meet your needs.
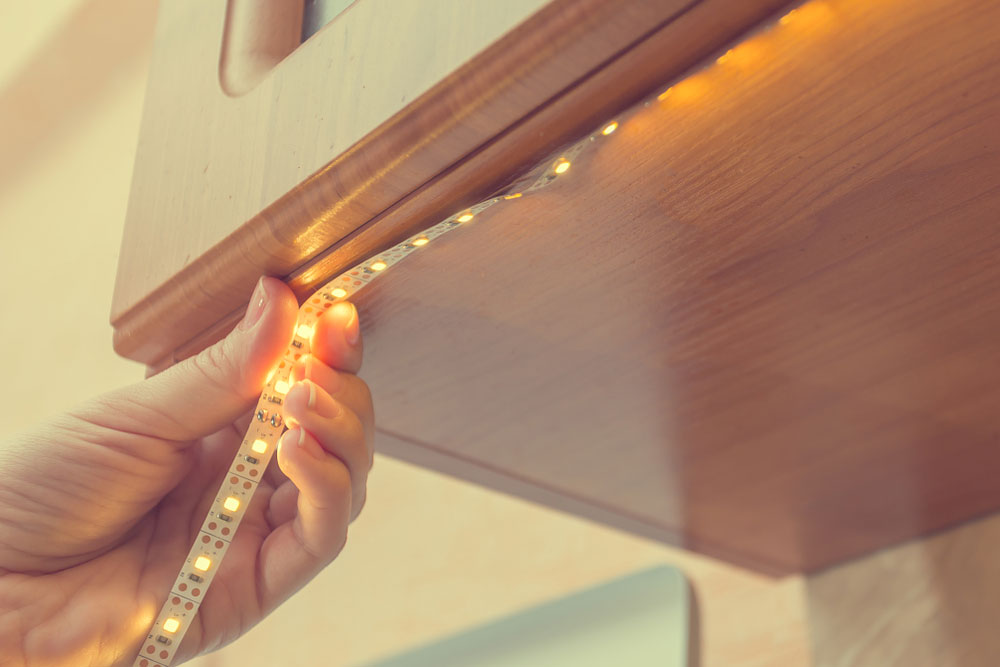
LED strip light kit
Designed for easy installation, an LED strip light kit comes in either a set of RGB colors or transparent white. It’s applicable for projects such as backlighting, bookshelf lighting, showcase lighting, and under-cabinet lighting.
LED trailer light kit
Ideal for trailers that require LED lights. Typically, an LED trailer light kit includes two stop/turn/tail lights, two side marker and clearance lights, a wiring harness, and mounting hardware.
Ceiling fan LED light kit.
A ceiling fan LED light kit allows you to install lights on a ceiling fan. It mounts in the middle of a ceiling fan.
LED boat light kit
Used anywhere on your boat, an LED boat light kit comes in either a single color or multi-color. These lights increase safety, visibility, and lightning, making them ideal for nighttime.
LED video light kit
Perfect for photography and videography, a LED video light kit increases the lighting for a great shot. They also come in a variety of different sizes.
RC LED light kit
You can install these in your RC vehicle by hooking them up between the servos and receivers. The left and right LEDs flash when steering the car.
LED fog light kit
When it comes to bad weather, a LED fog light kit is perfect for your car. It’s energy-efficient and increases safety with bright lights.
Conclusion:
Building your own LED lamp can be a rewarding task. By reading this article, you have learned how to use the necessary components to prepare for installation. However, the features involved in this project are also crucial for a successful product. Made of high-quality material, the power and light board can withstand multiple weldings without suffering damage. The LED light also lasts very long on a low level. Overall, it can stay lit for a long duration.
Do you have any questions related to building your own LED lamp? Feel free to contact us!