
If you’re looking for a way to maximize your energy savings, you may consider using a photocell for LED lights. A photocell is a device that senses light and then sends a signal to control another device in response. It has become trendy in residential applications for its low energy consumption.
In the context of the LED light bulb, you can use the photocell to turn the light bulb on or off based on the present light level.
In this article, we’ll cover everything about using photocells with LED lights, including what to look for in the specifications and how to install them for exterior light.
What Is Photocell?
A photoconductive cell photocell is an electrical device whose resistance decreases when exposed to natural light. This decrease in resistance causes an increase in current that flows through a circuit to the light fixture.
This way, you can control the light output of your fixture by turning on the lights when it’s dark and off again in the morning.
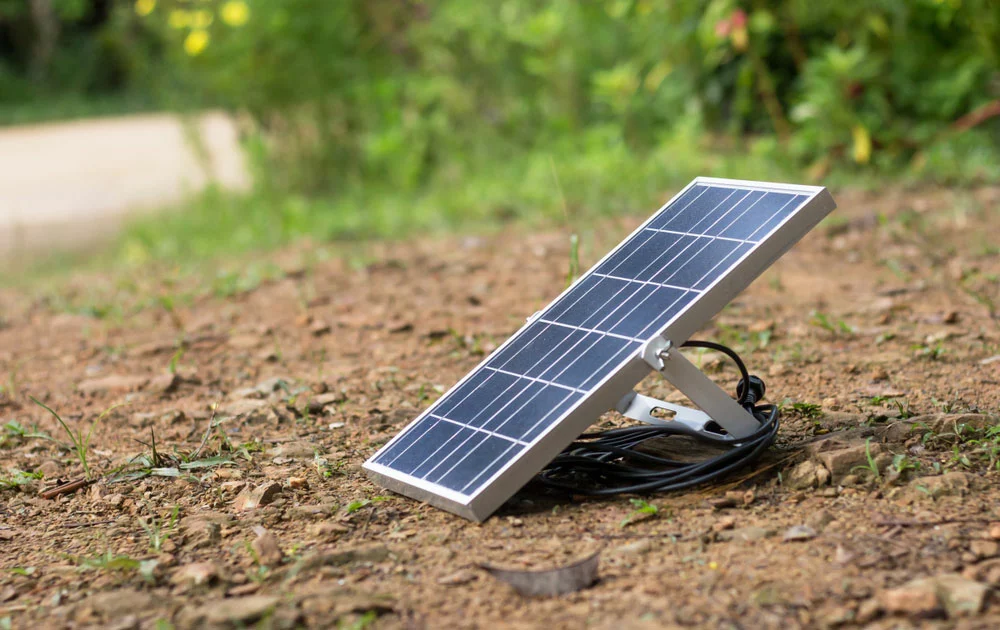
A small photocell
Can LED Lights Be Used With Traditional Photocells?
Unlike traditional light bulbs, LEDs operate on less voltage and current. LED lights are a relatively new technology, and as such, they are not compatible with photocells designed for traditional light. And those typically use tungsten (incandescent bulbs) or ballasted lighting (fluorescent lights).
So, when using LED lights, any small amount of current will significantly affect them – resulting in the light turning on and off erratically.
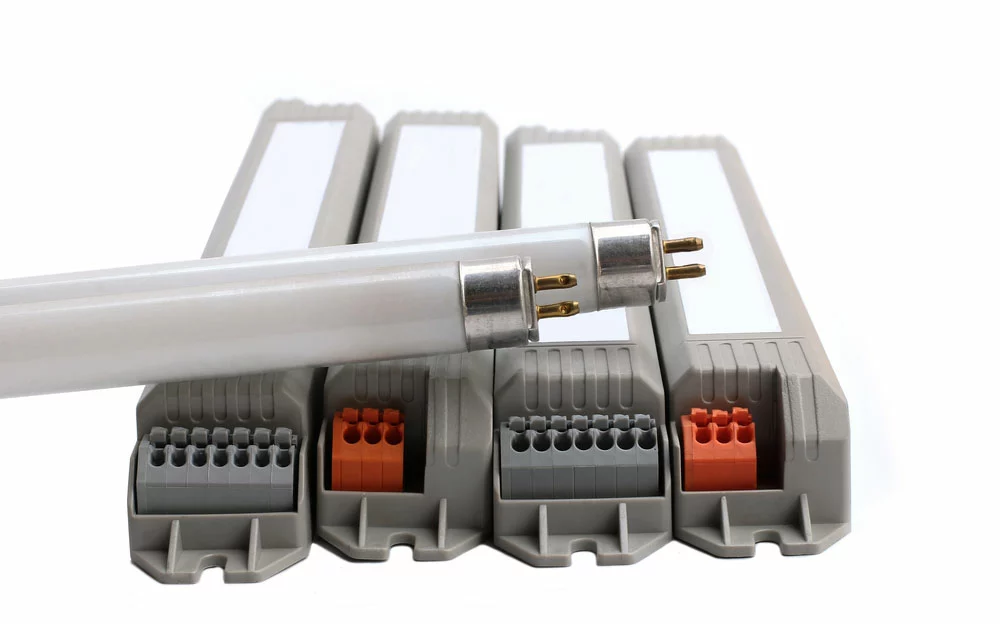
Ballasted bulb
Will LED Lights Flicker If Used With an Incompatible Photocell?
Well, if you use an incompatible photocell sensor with your LED fixtures, then yes – most likely, they will flicker. The reason is that LEDs are susceptible to voltage fluctuations and current changes.
So, the photocell senses any minimal change in visible light levels and sends a signal to the LED light to turn on or off based on the time of day. These sudden changes in current can cause “strobing” or “flickering.”
Flickering is usually common in the periods of dusk and dawn when the light level changes rapidly. It can also occur due to a sudden change in the amount of ambient light, such as a car driving by or passing clouds.
In most cases, this flickering is not harmful to the LED lights and will stop once the light level has stabilized.
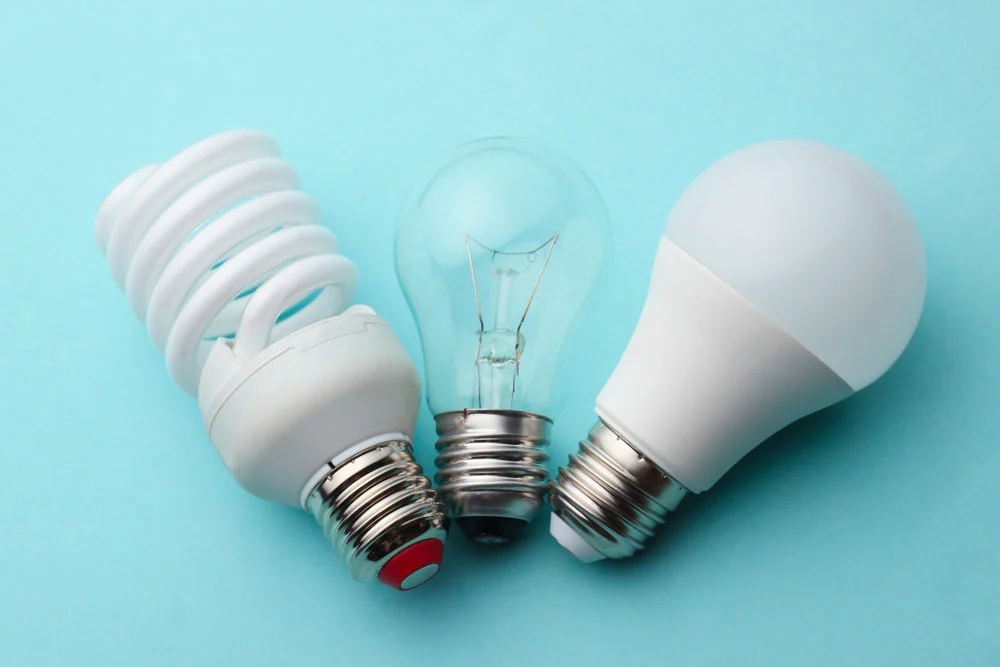
The different types of lighting
How to Tell if a Photocell is Compatible with an LED
When choosing the right photocell for your LED light, there are a few things you’ll want to keep in mind first.
Type of Light Source
You’ll need to determine whether you’re replacing a traditional light source with LEDs, such as incandescent or halogen. If so, ensure that the voltage on the specification sheet of the photocontrol matches that of the LED.
Voltage
It’s also essential to ensure that the installation voltage on the specification sheet of the photocell matches that of your LED lights. The reason for this is that if the voltages don’t match, your photocell may not work correctly or may not work at all.
Maximum Load
When choosing a photocell, you’ll also want to confirm that the maximum load of the photocell doesn’t exceed that of your LED lights. If it does, this could cause damage to your lights and shorten their lifespan.
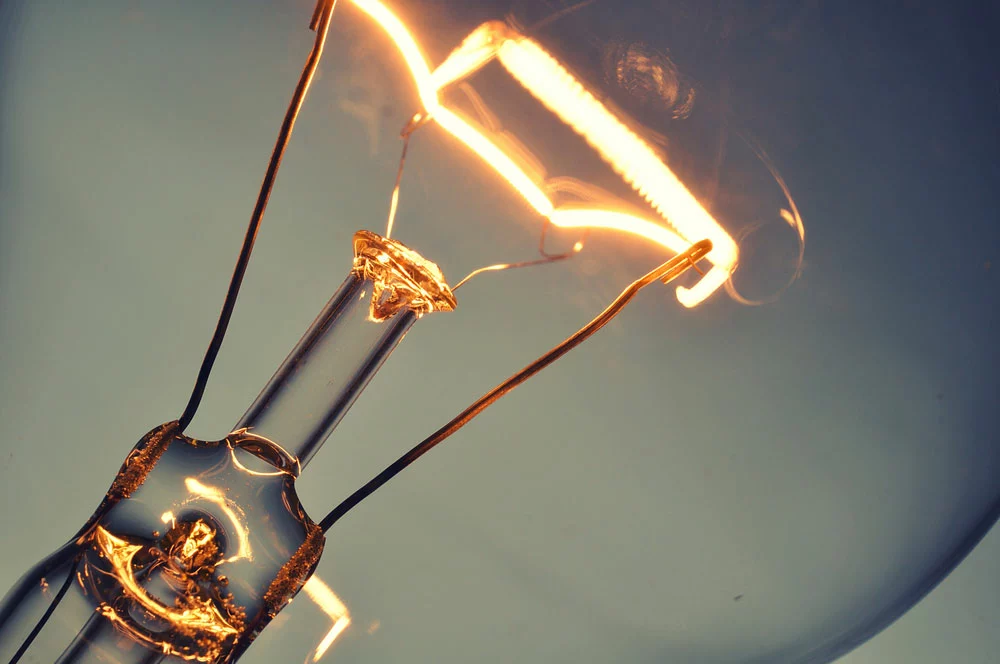
The traditional bulb uses tungsten.
How Do I Install a Photocell Sensor on Outdoor lights?
Installing a photocell sensor for outdoor use is a relatively simple process. Still, following the instructions carefully is essential to avoid damaging the equipment. Here’s a step-by-step guide on how to do it:
- Disconnect the power to the light fixture by turning off the breaker in the main electrical panel.
- Remove the light bulb from the socket and unscrew the plate that covers the wires.
- Detach the wires connecting the light fixture to your home’s wiring by unscrewing the wire nuts and pulling the wires apart.
- There will be two wires coming out of the photocell sensor.
- Connect one of the wires from the photocell sensor to the black wire from the light fixture and connect the other to the black wire from your home’s wiring.
- Turn on the power to the light fixture by flipping the breaker in the main electrical panel back on.
- Screw the plate back onto the light fixture and screw in the light bulb.
- Test the photocell sensor by covering it with your hand to see if the light bulb turns on.

Outdoor LED using a photocell.
Summary
LED lights are an excellent choice for many reasons. Still, it’s essential to be aware of photocell compatibility issues. By understanding what to look for when purchasing LED lights, you can ensure your home is safely lit with these energy-efficient outdoor solar lights.
We hope this article has helped explain the basics of photocell sensors and ease your concerns about making the switch to LED lighting. If you have any questions, please don’t hesitate to contact us.